
eZaccessbathroomS.com
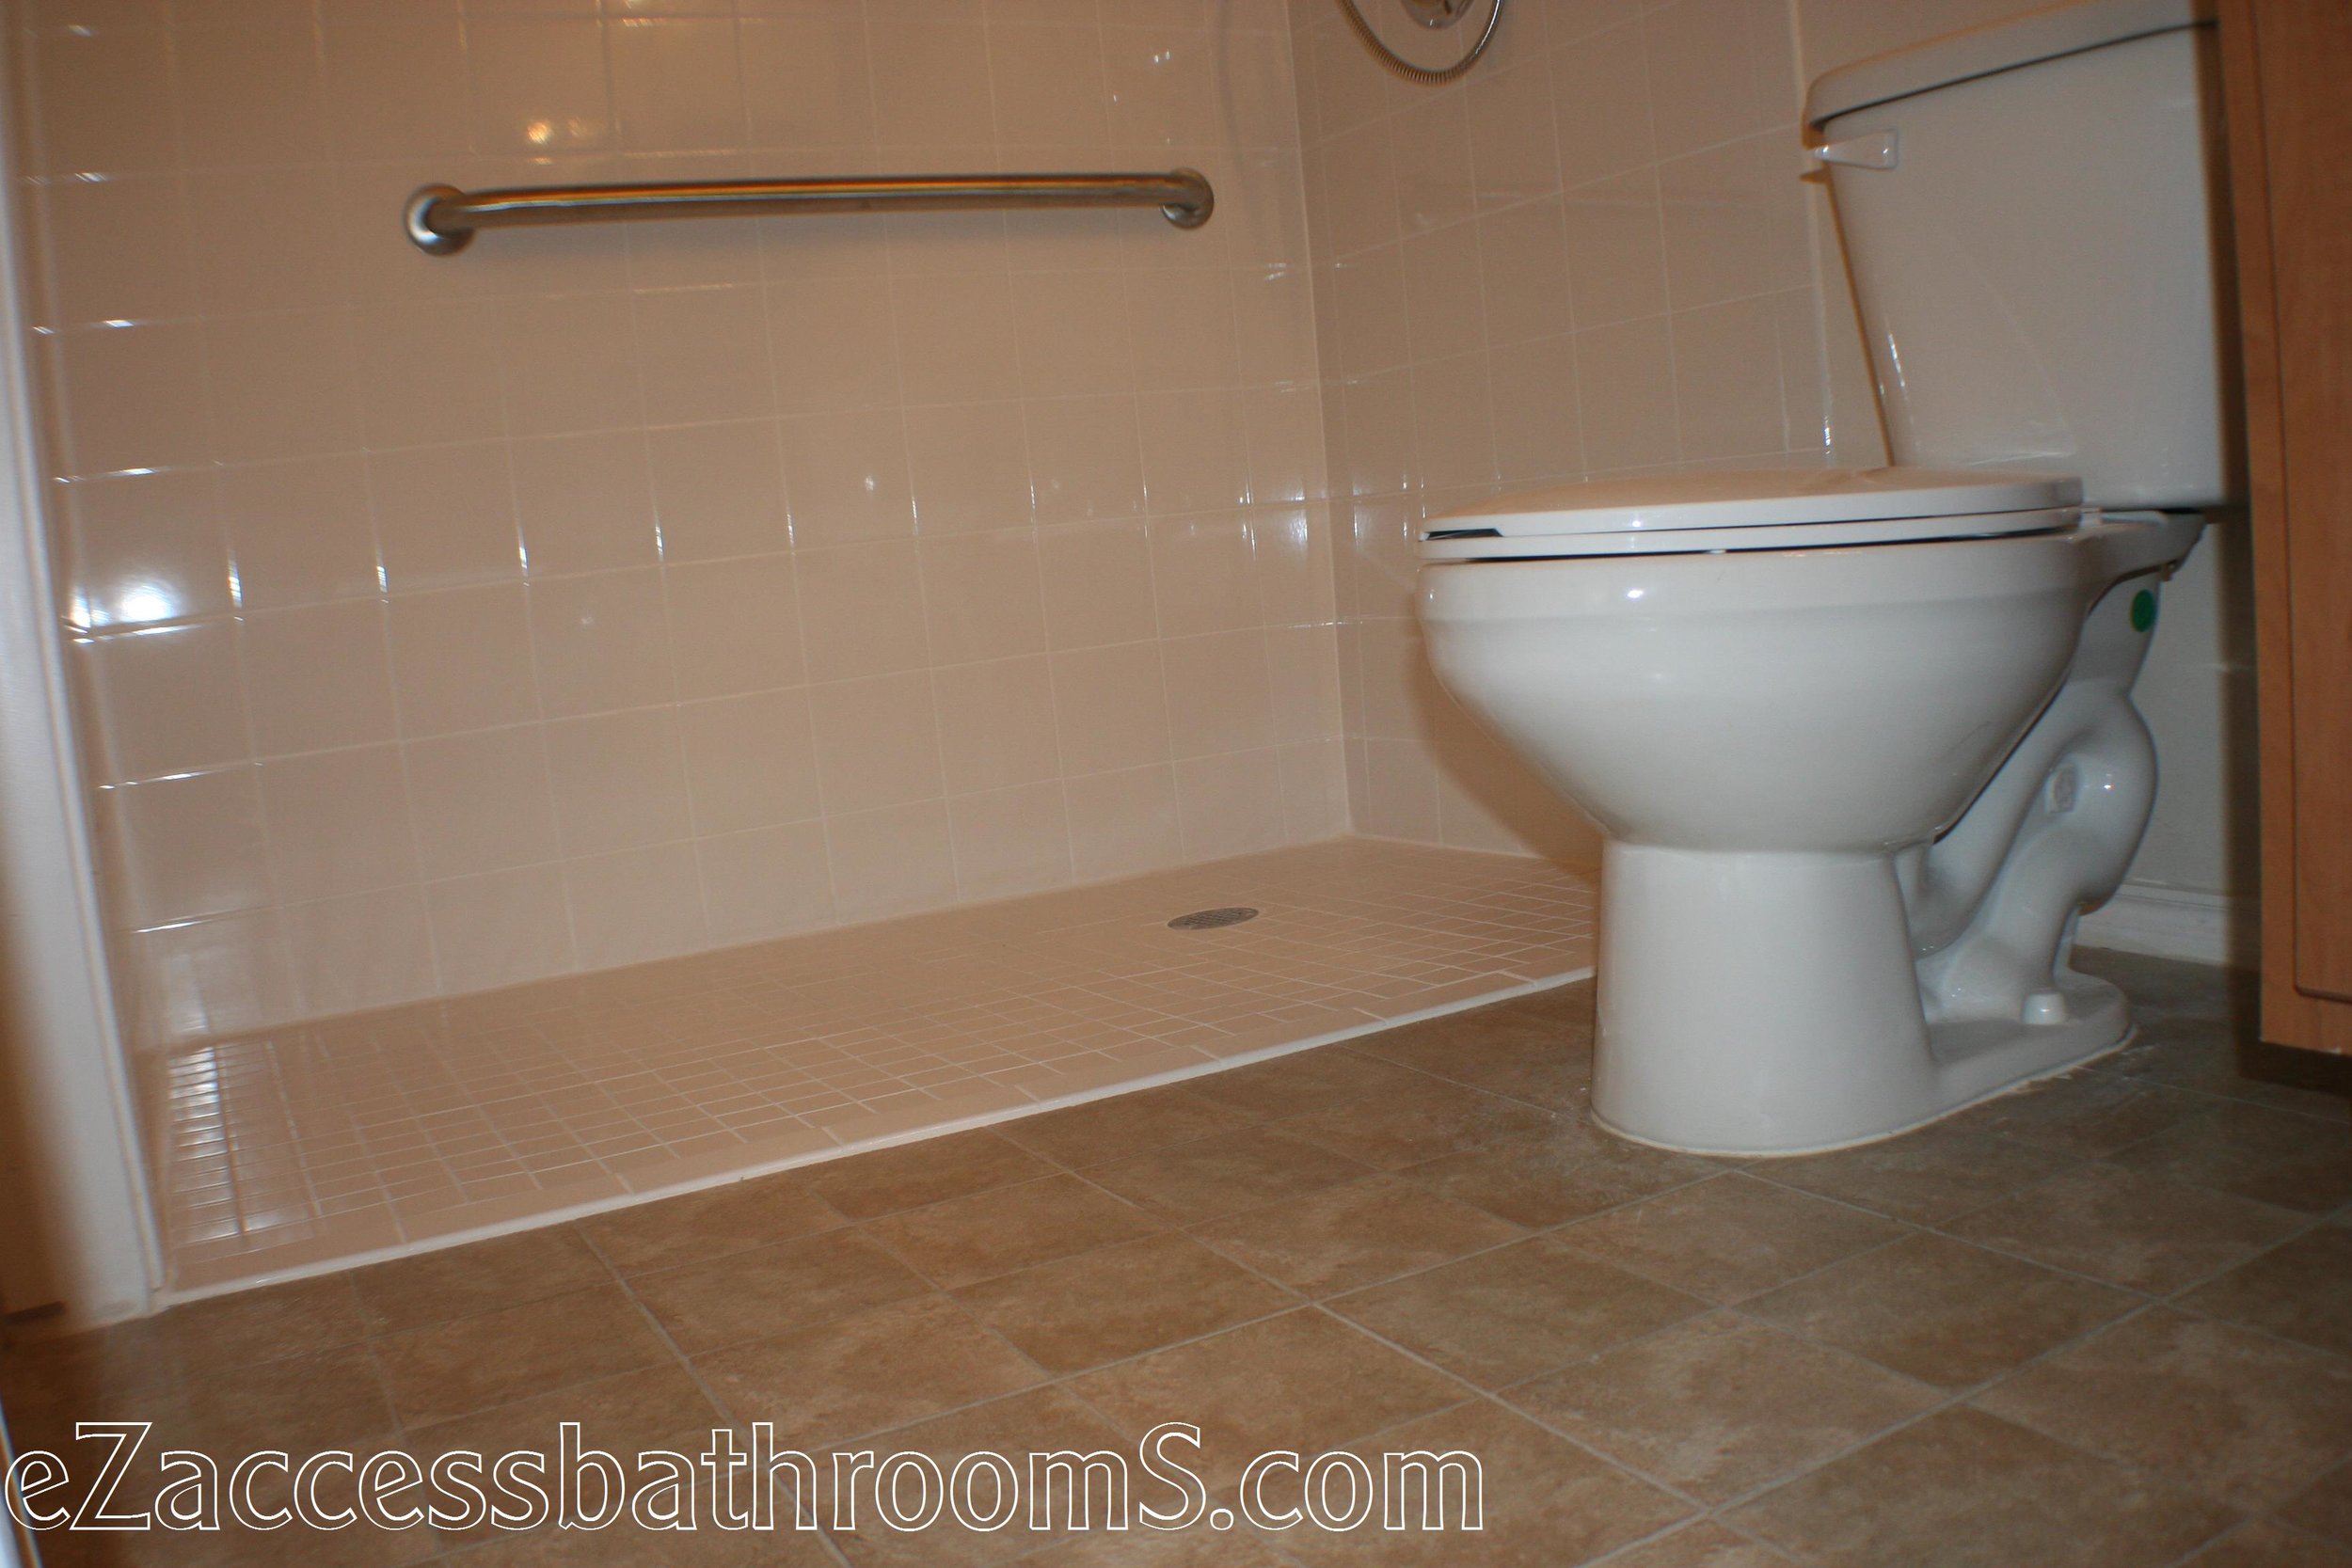
budget roll-in shower

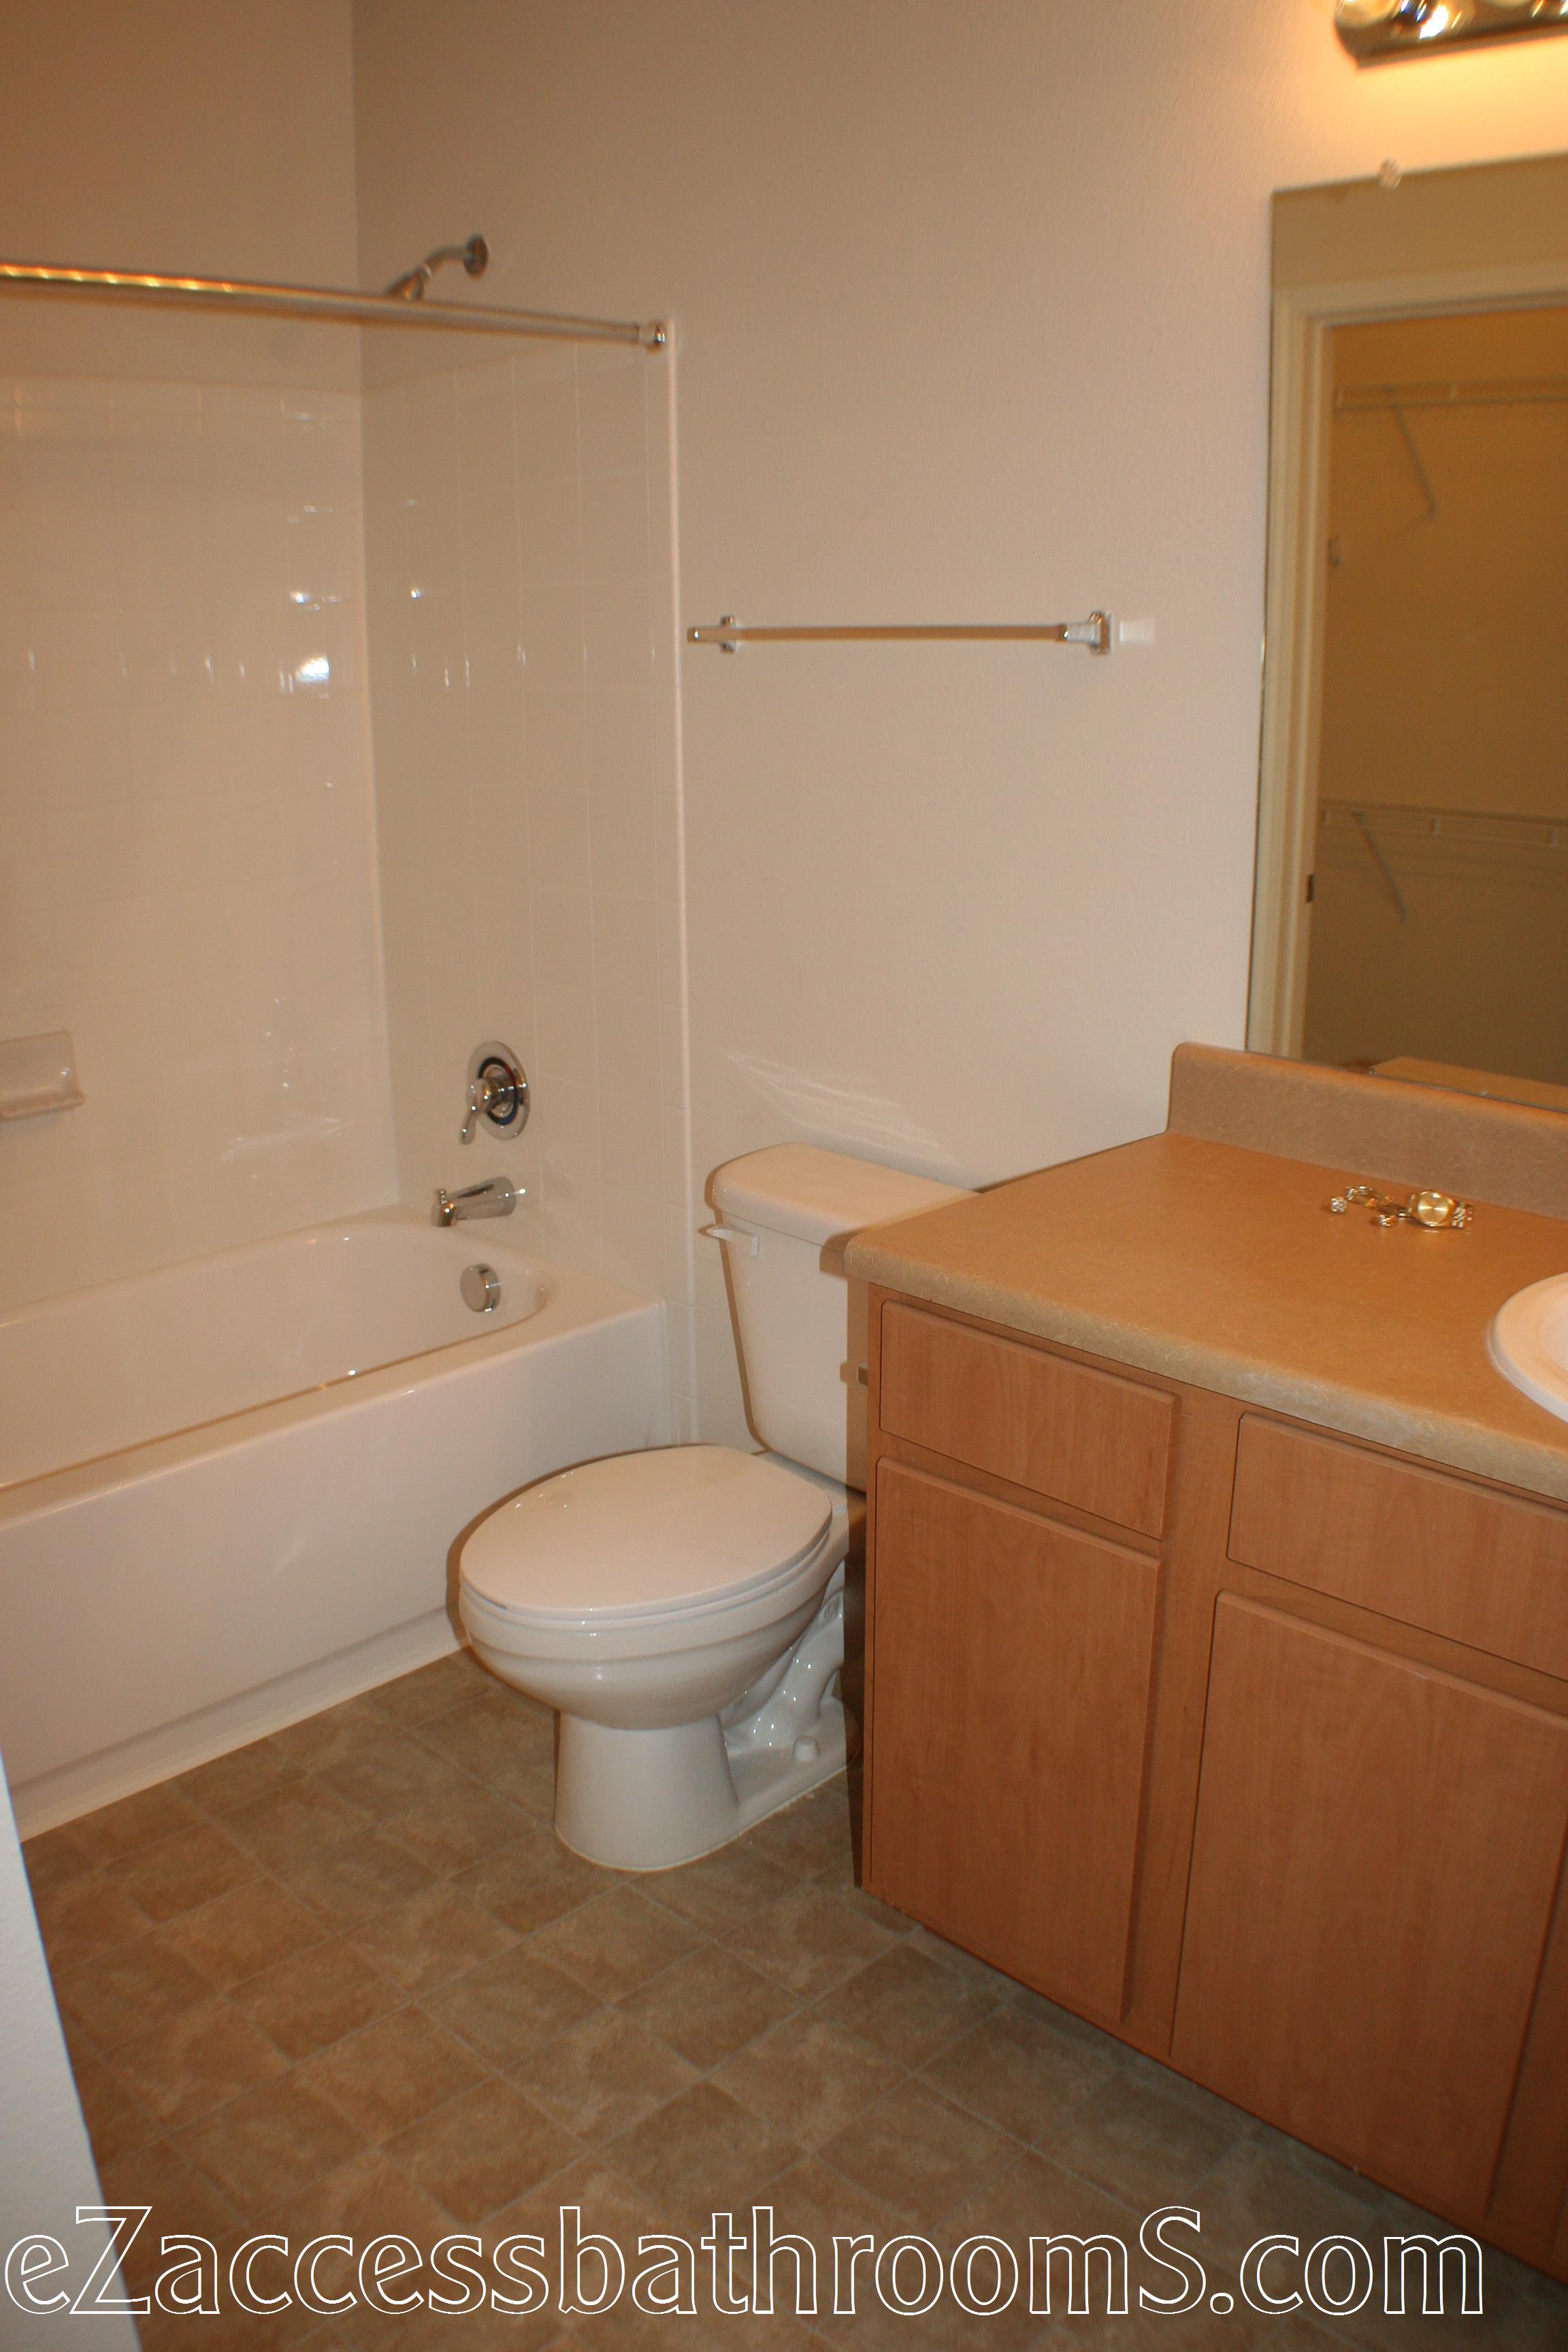
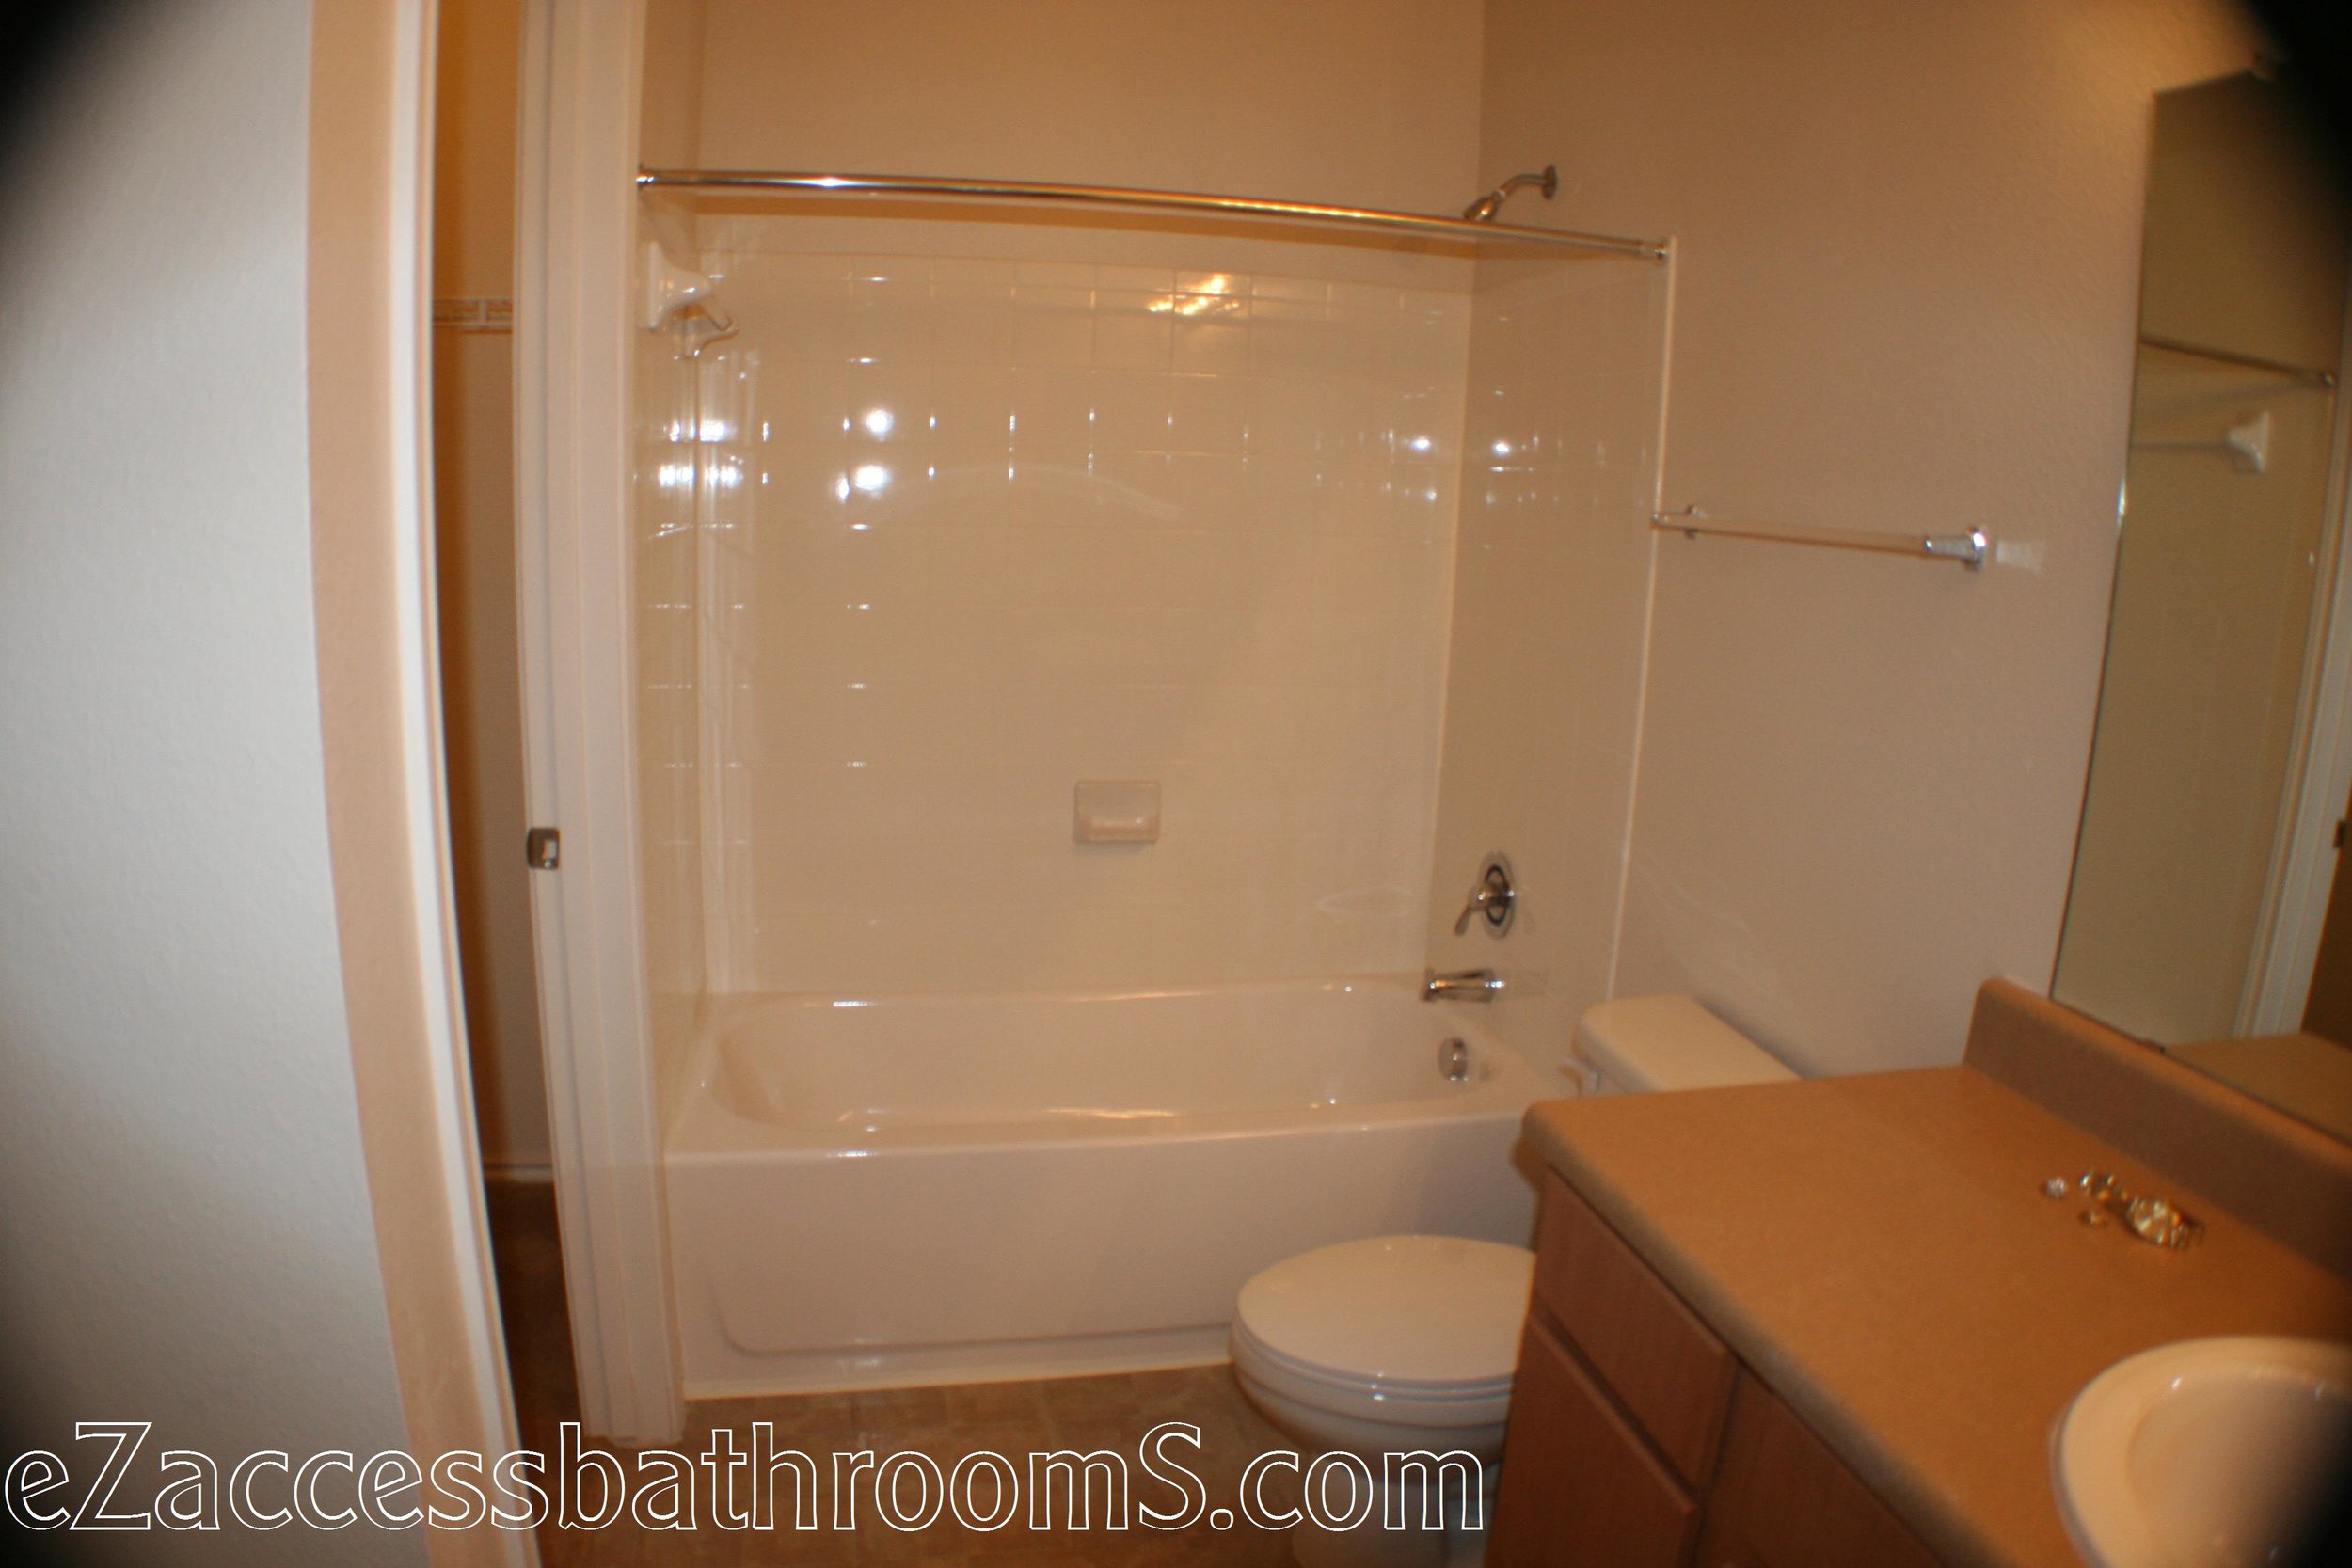

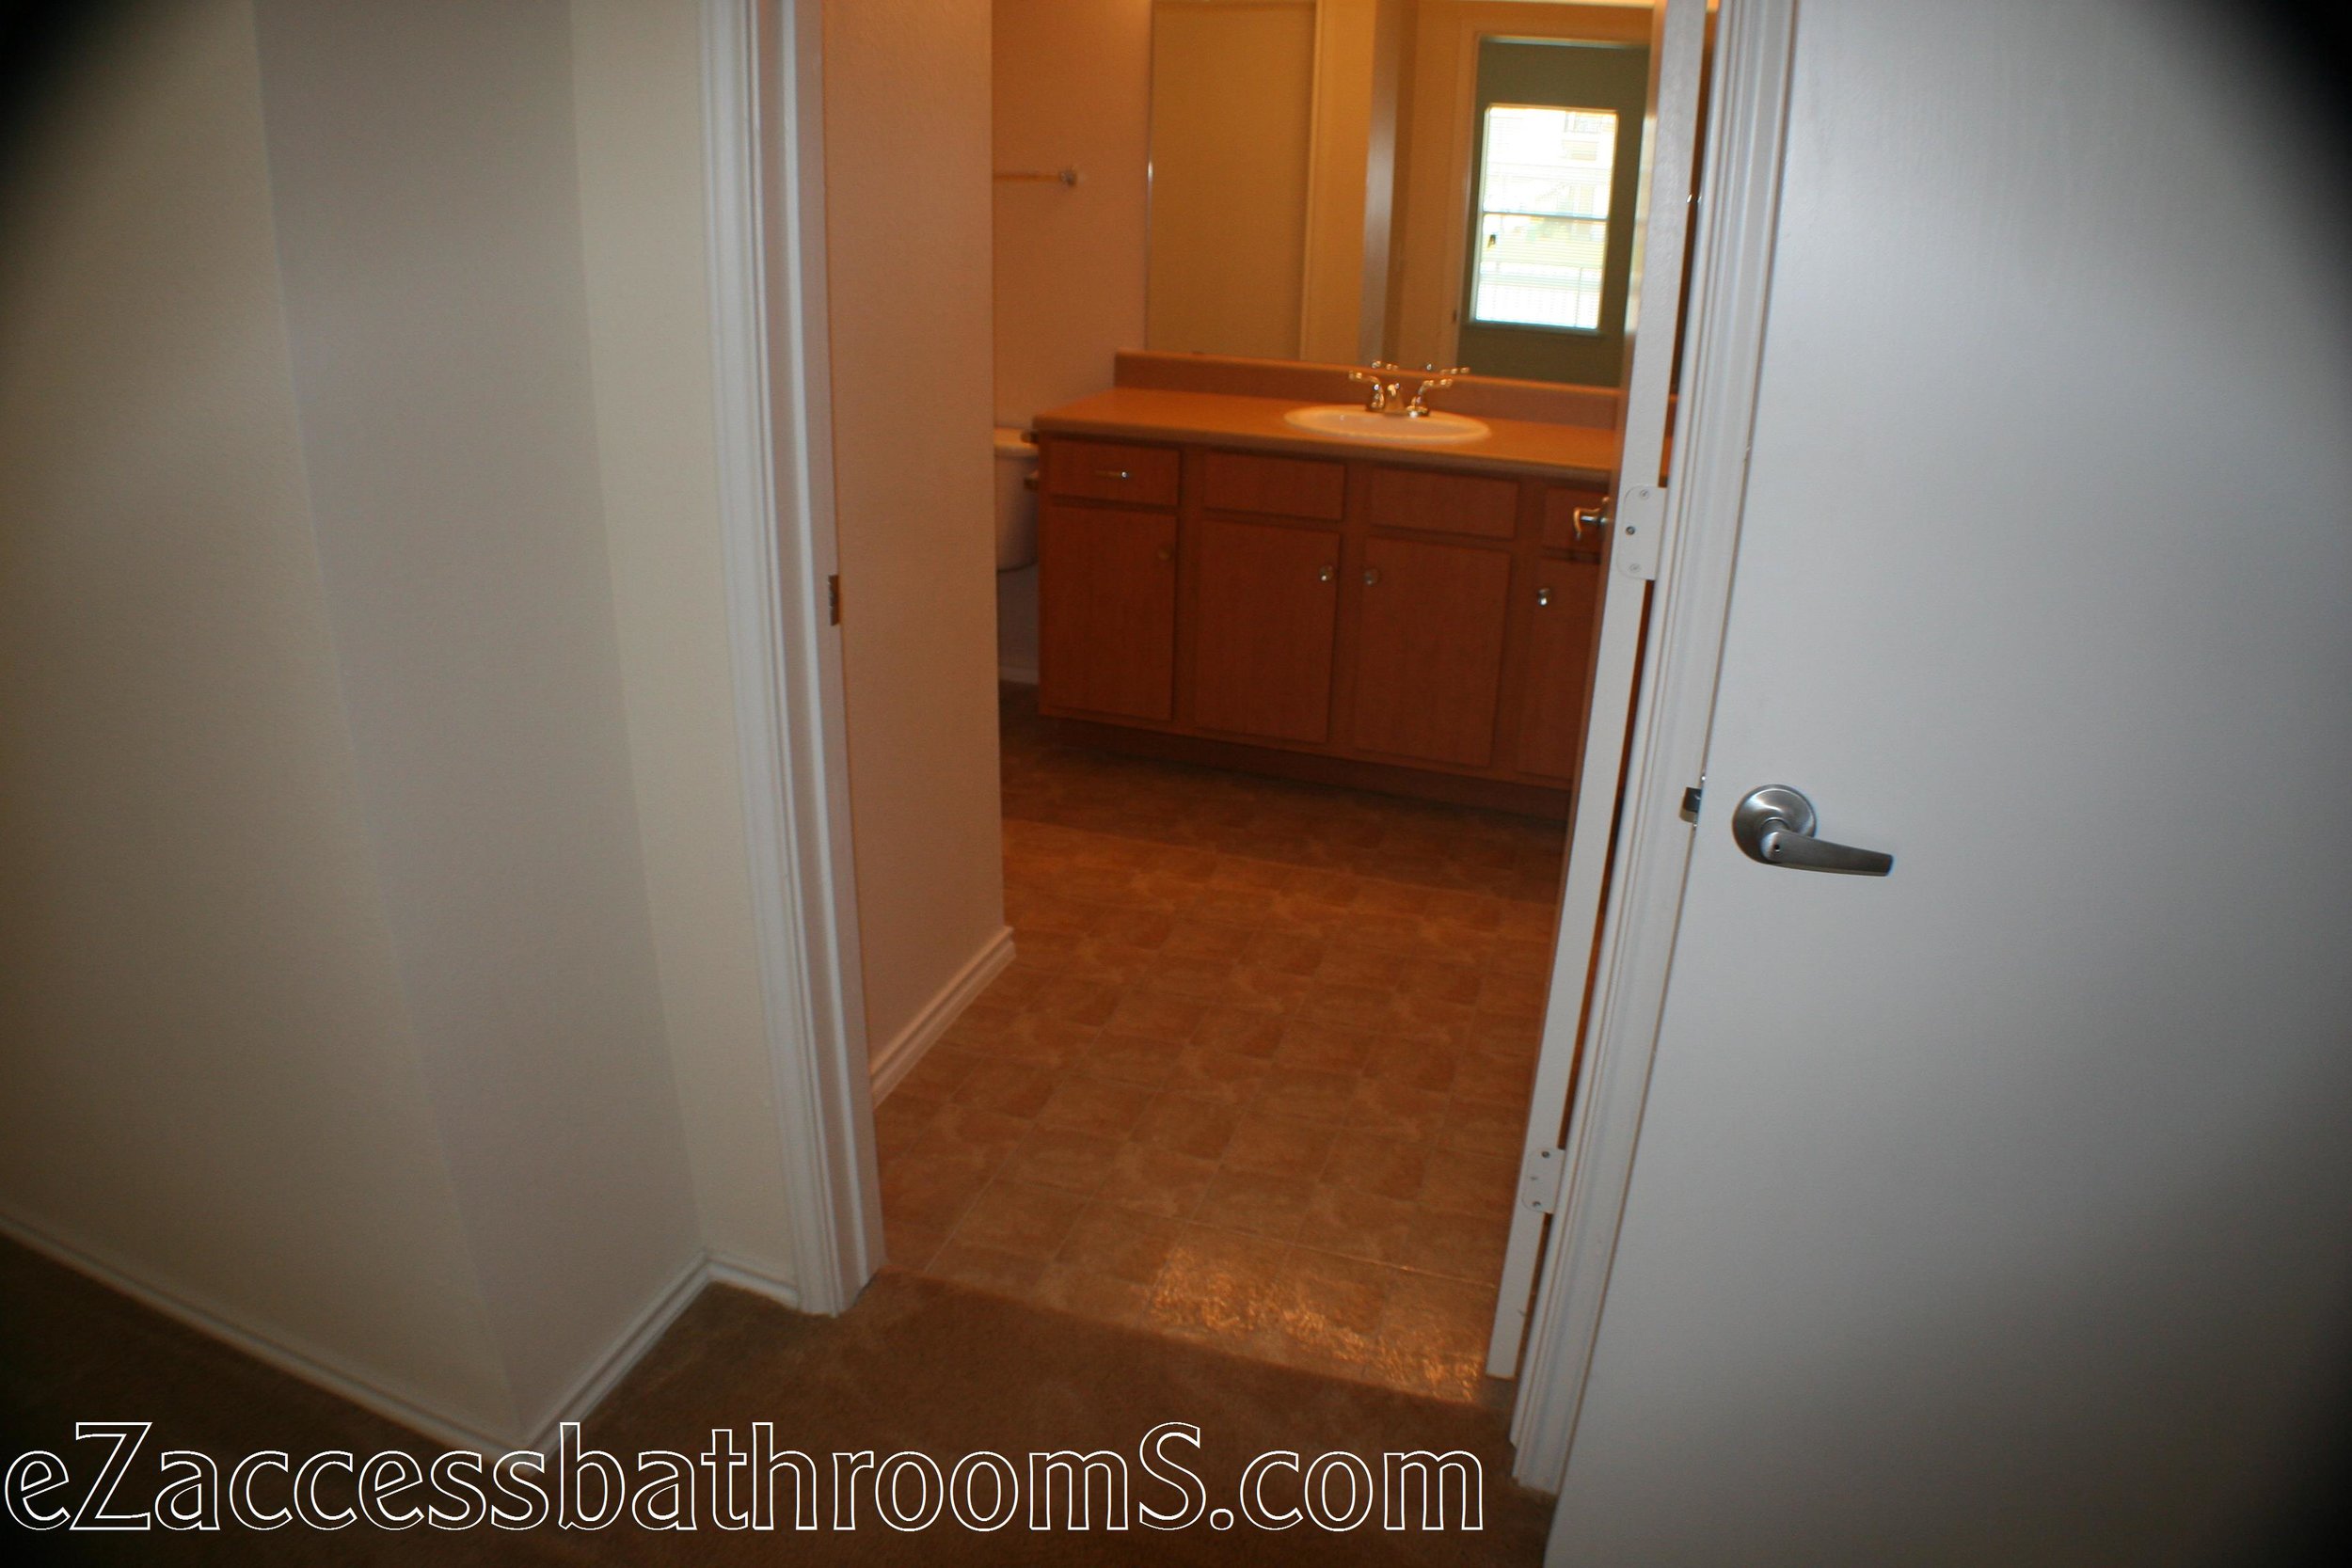
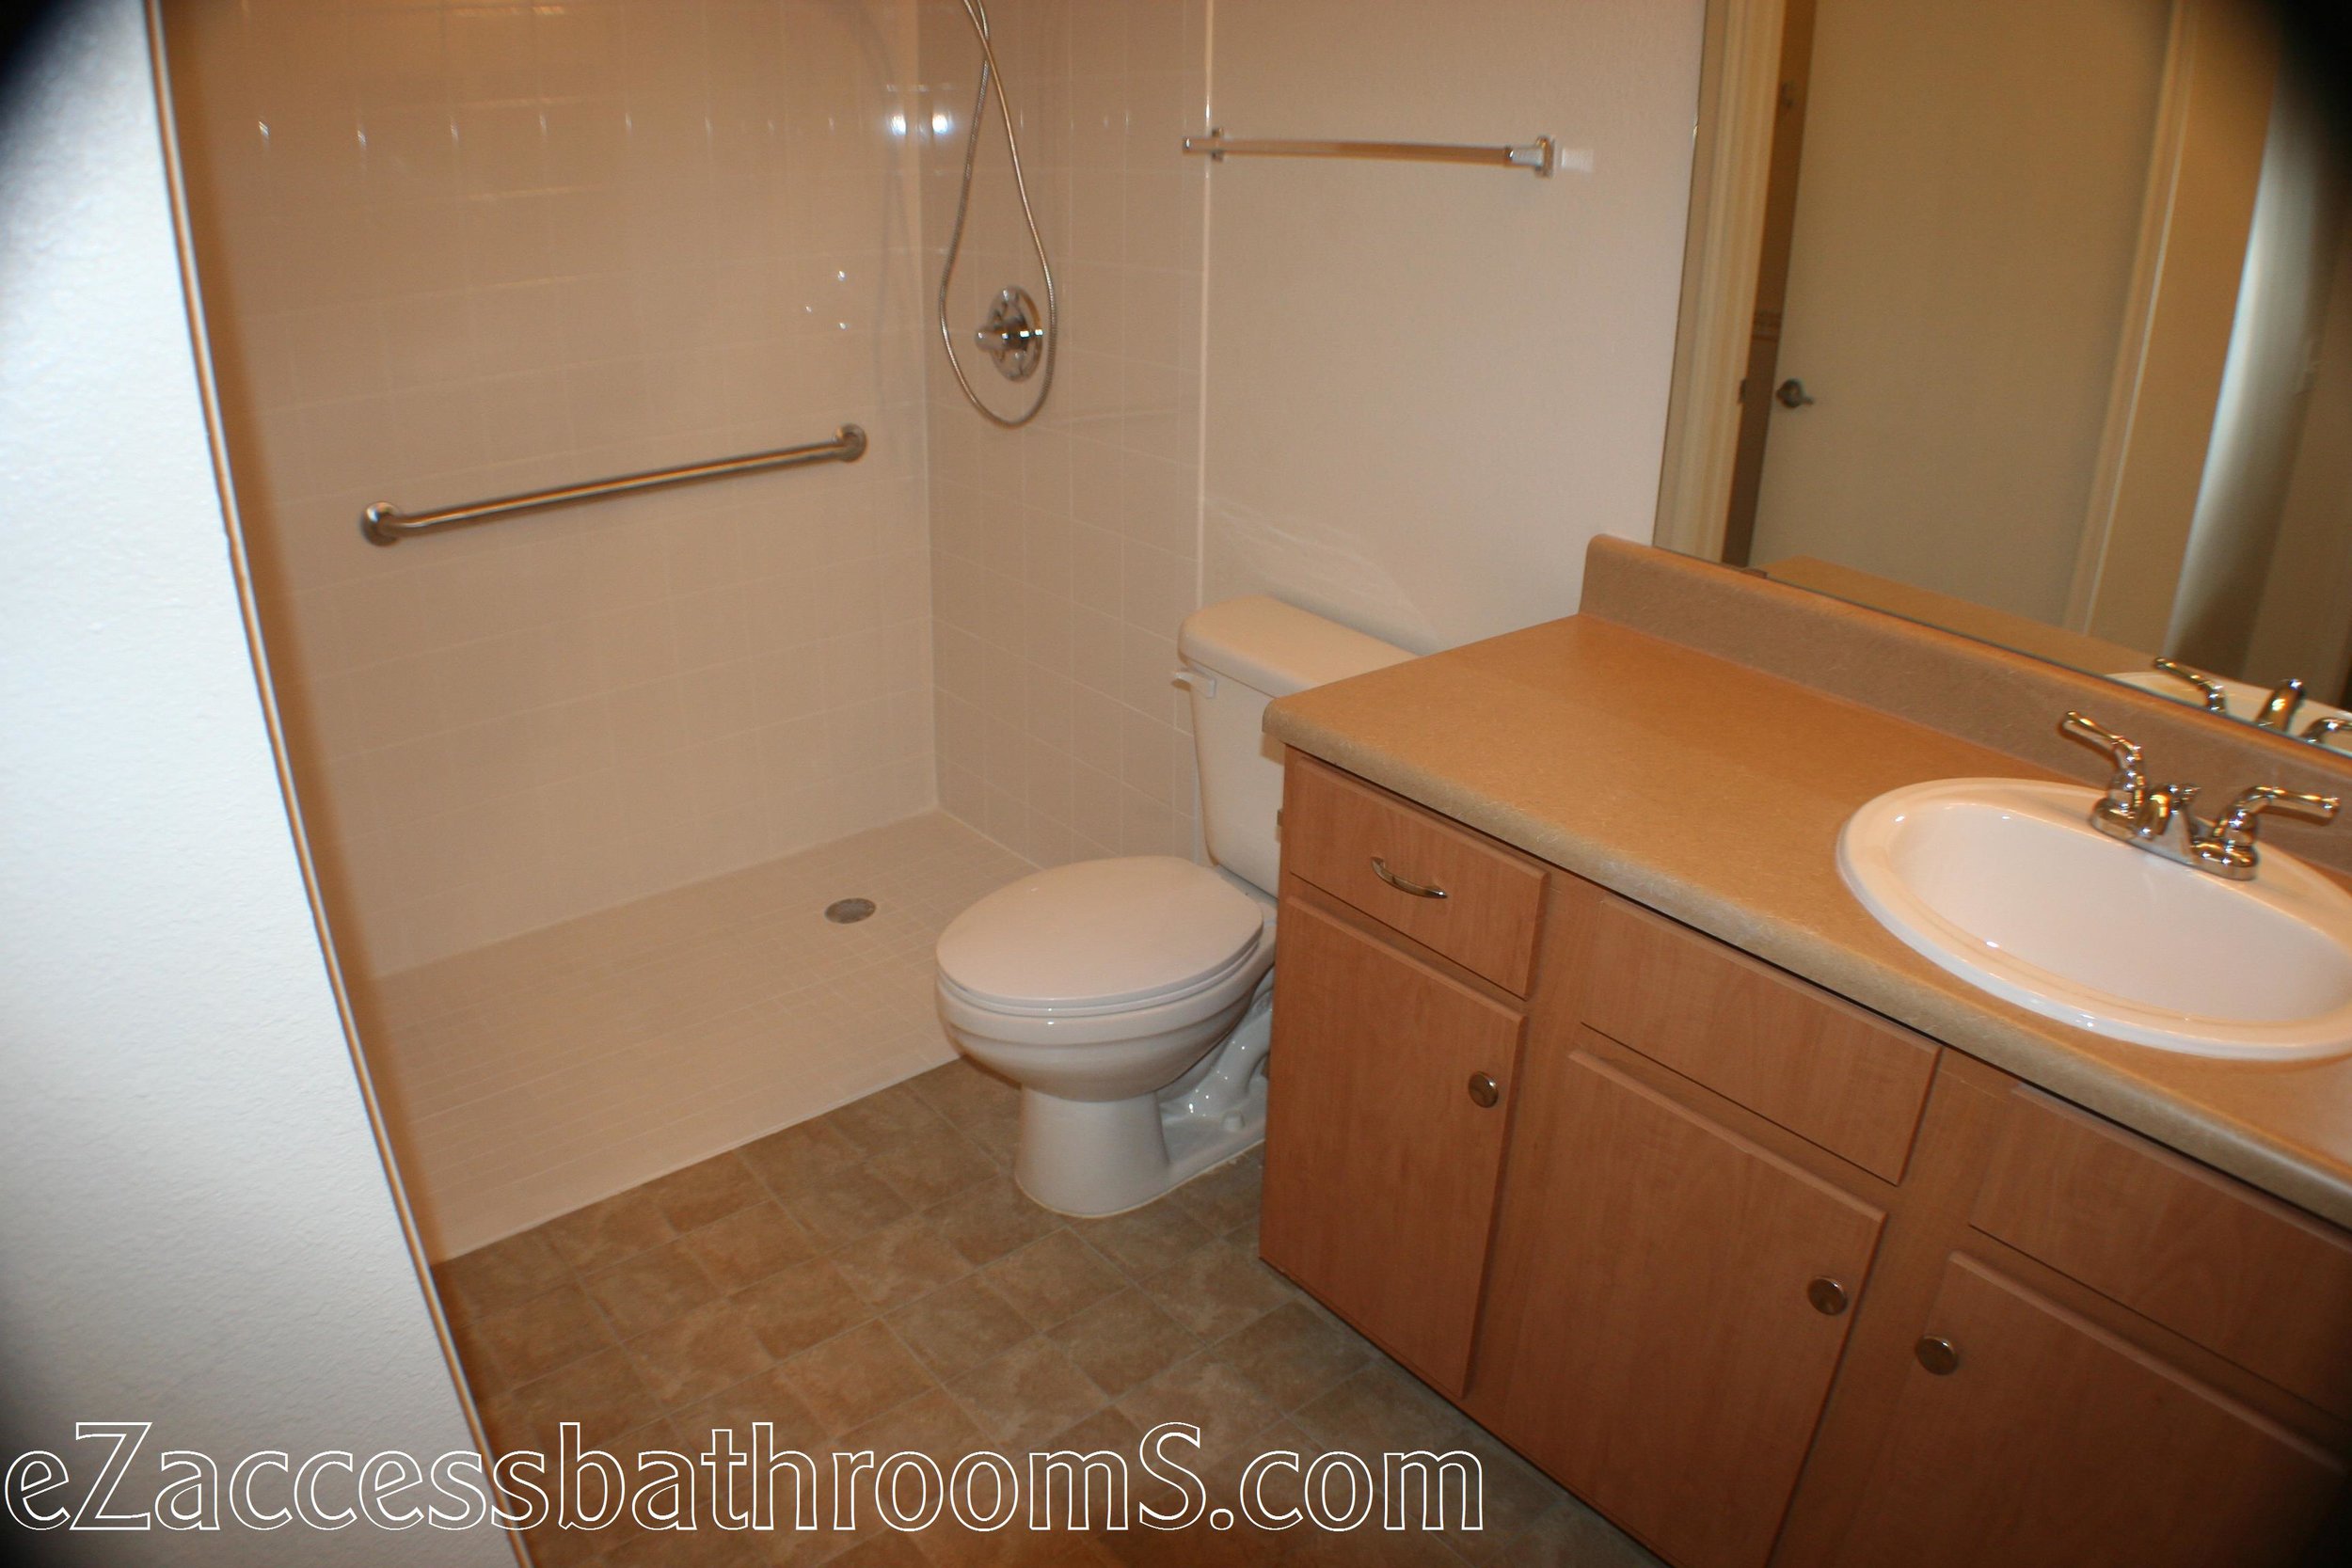
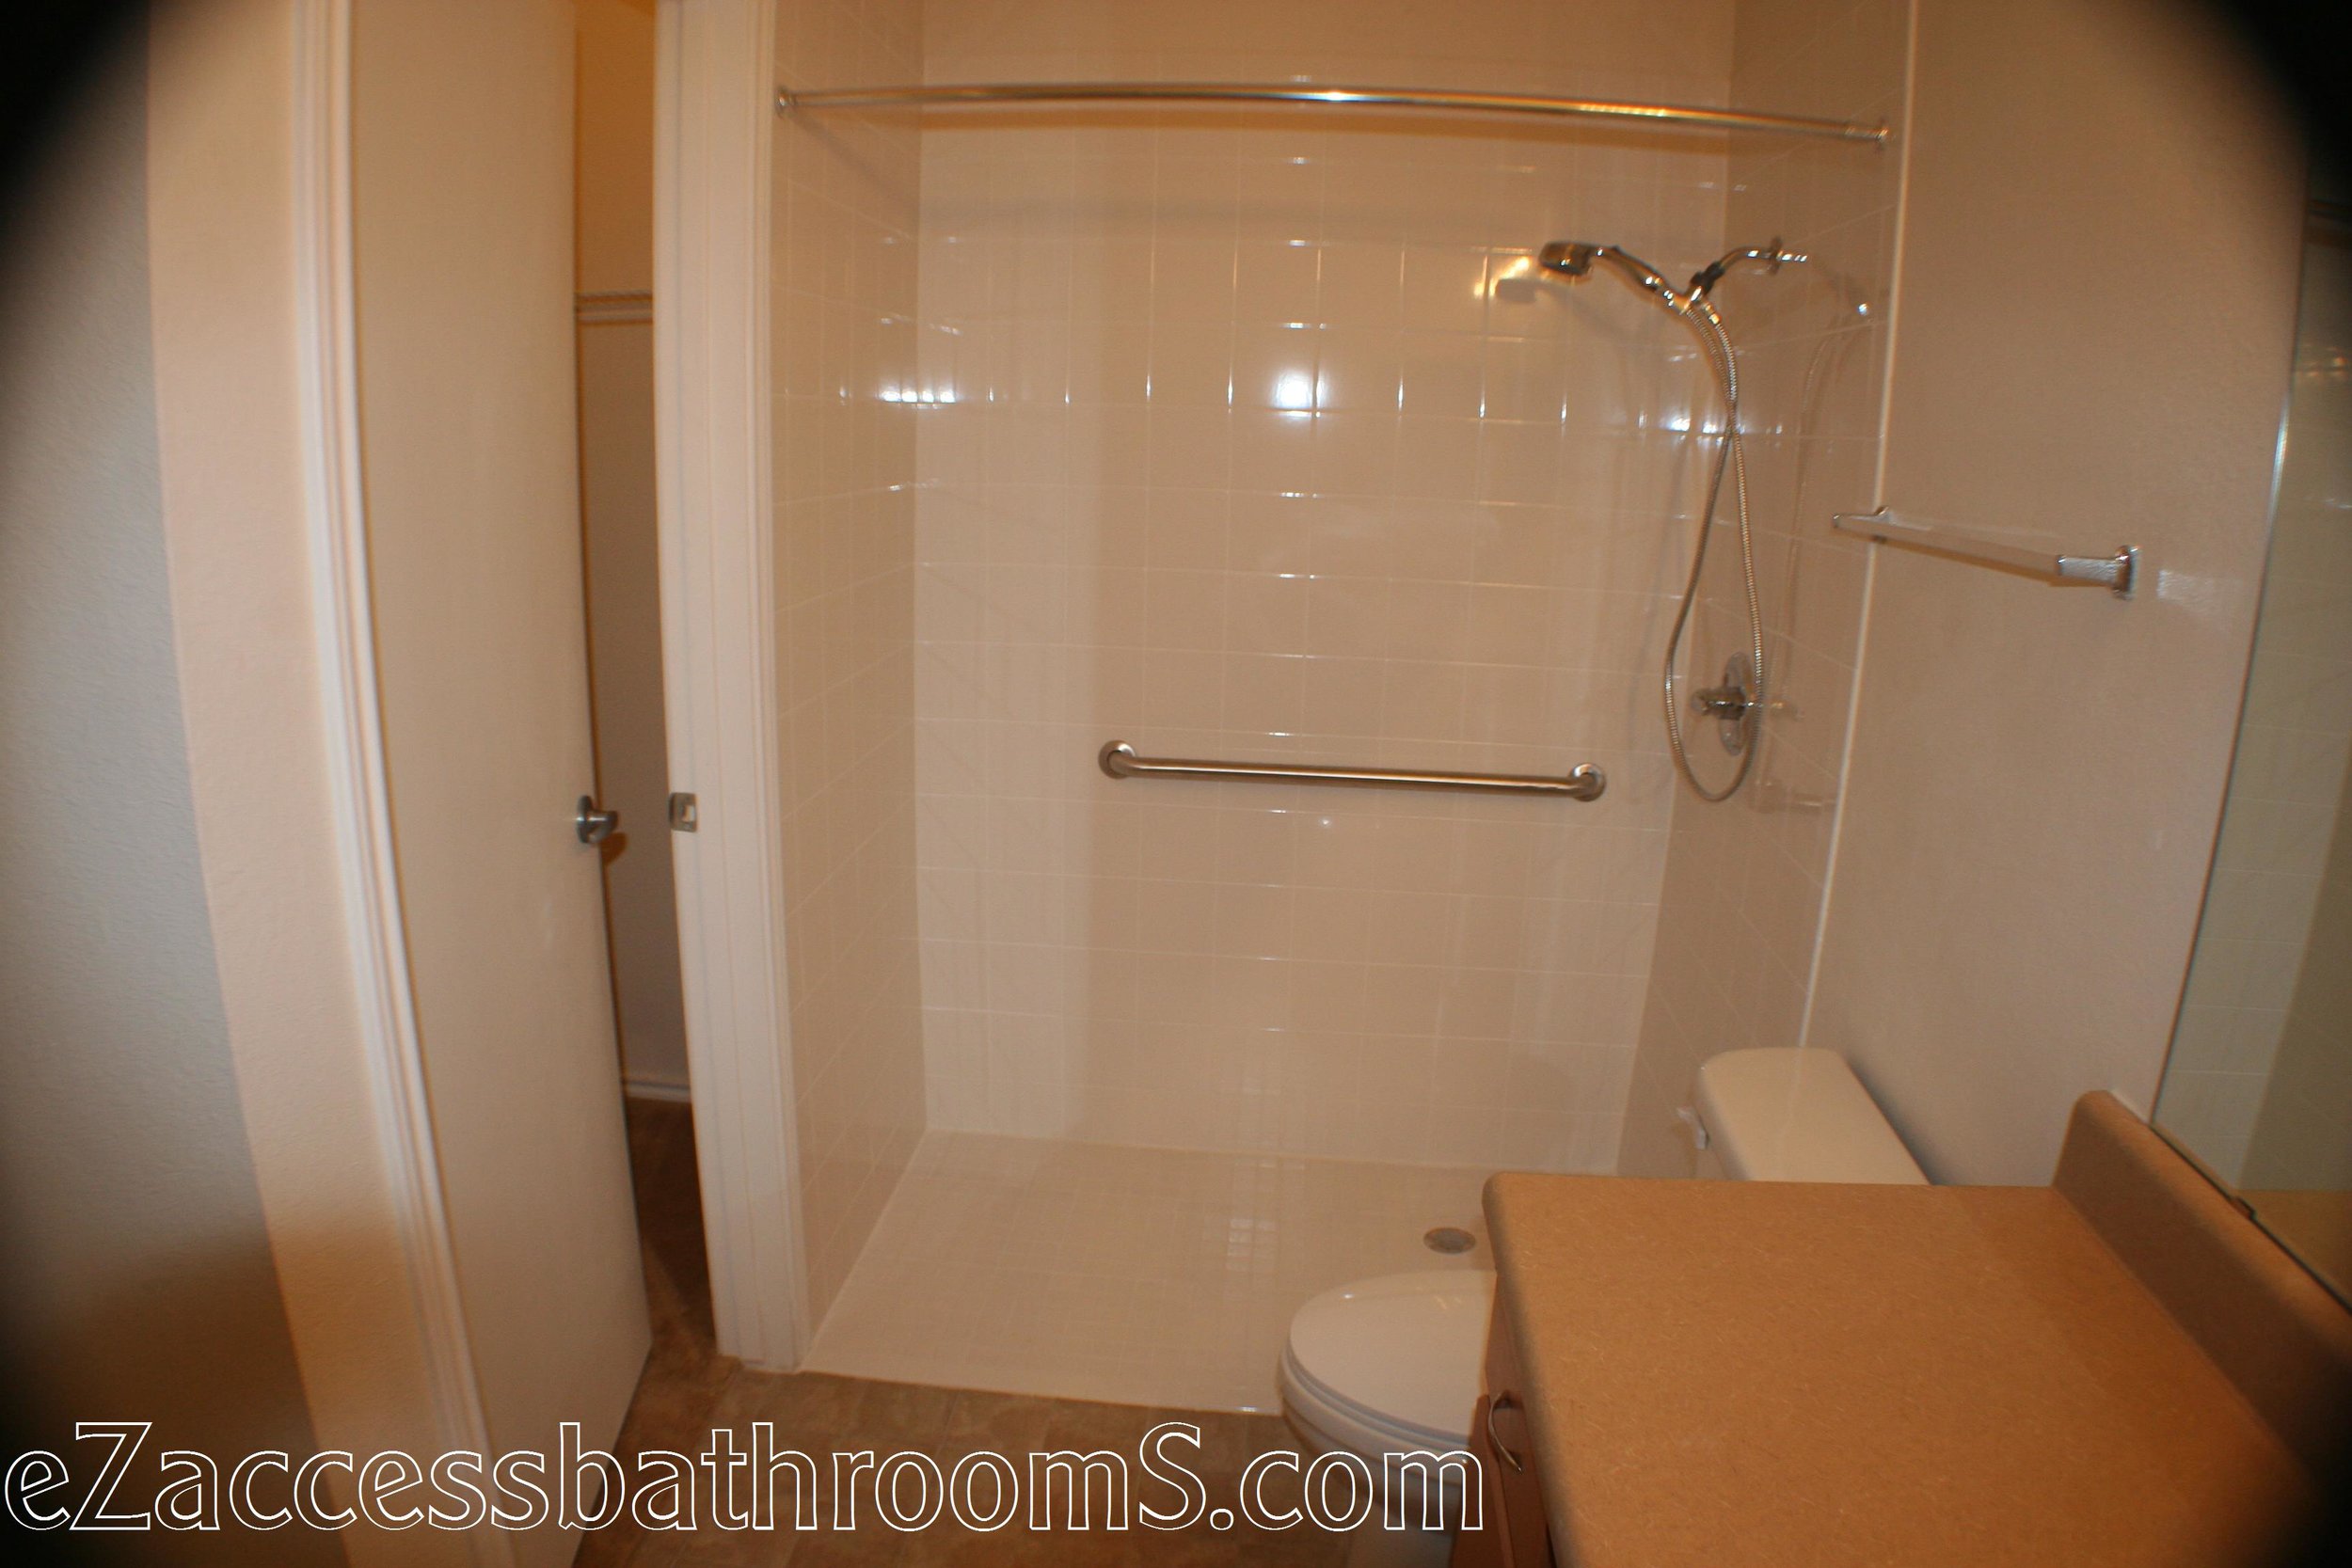

Here's the before, during, and now photo slideshow.
This project consisted of the following:
Deconstruction and preparation of this bathroom.
Remove the shower faucet trim pieces ( handles, supply pipe, and shower head)
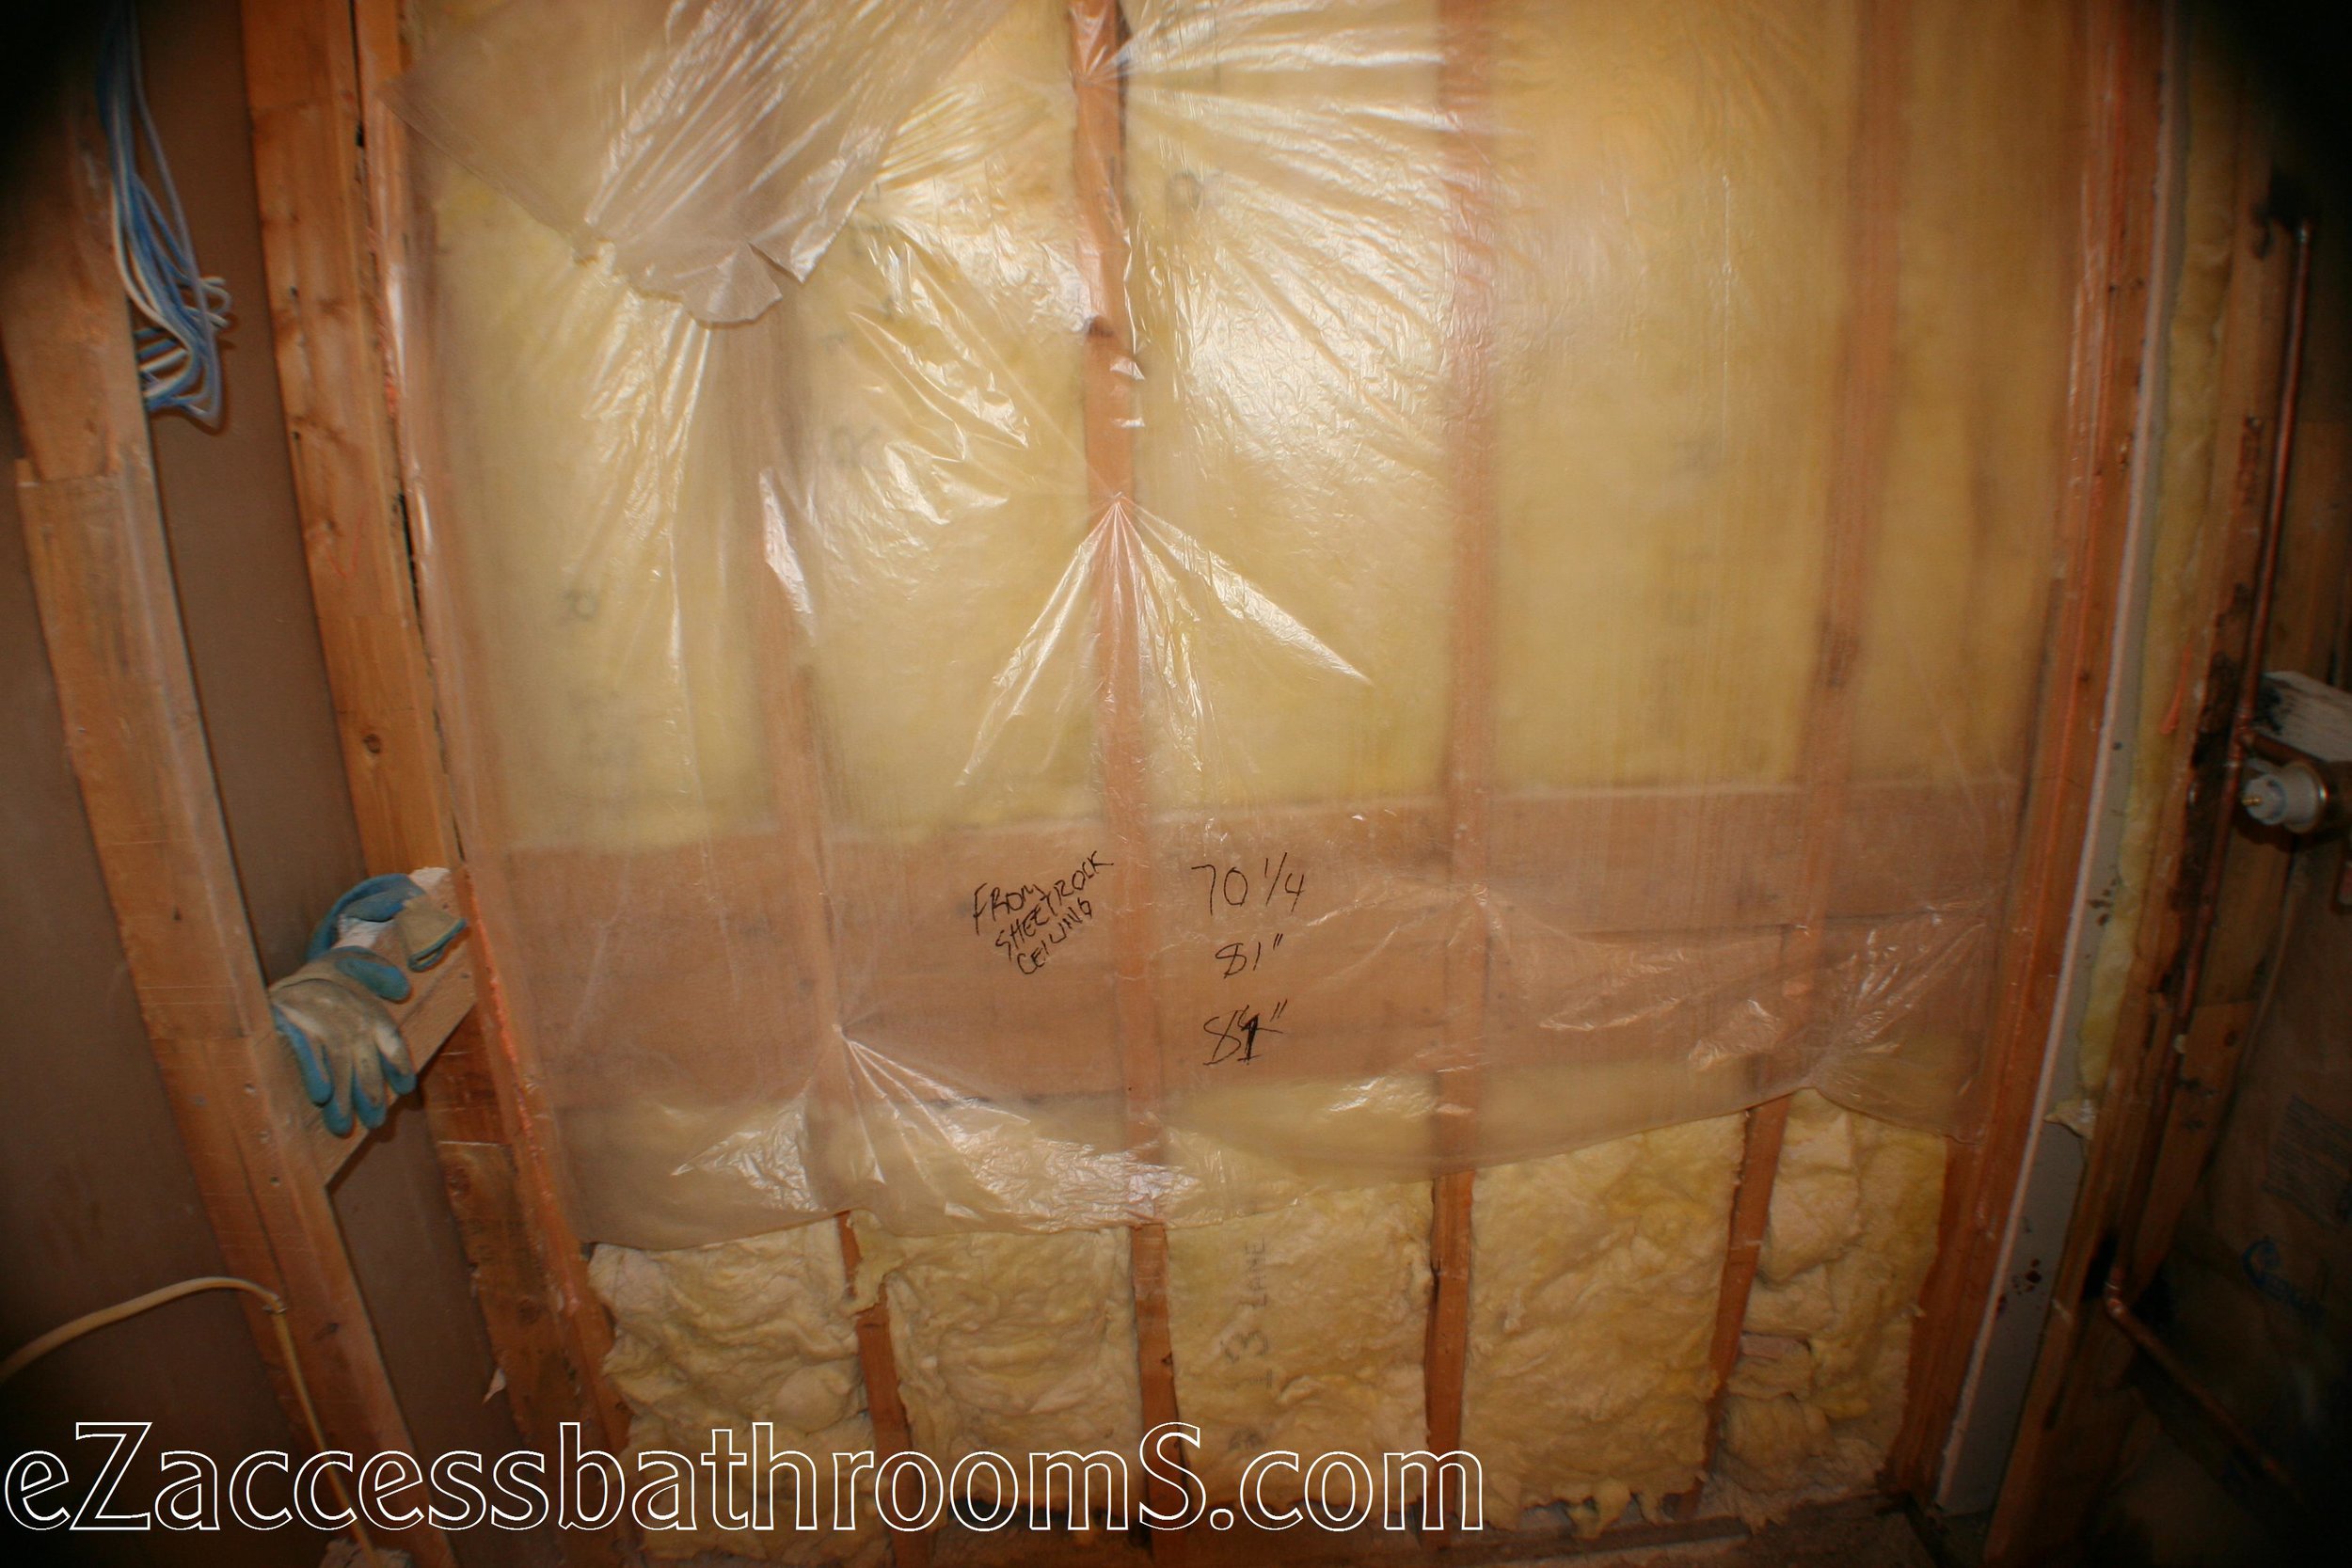
Remove the tiled tub enclosure and expose the stud walls.
Remove the existing bathtub.
Remove the existing tub/shower faucet.
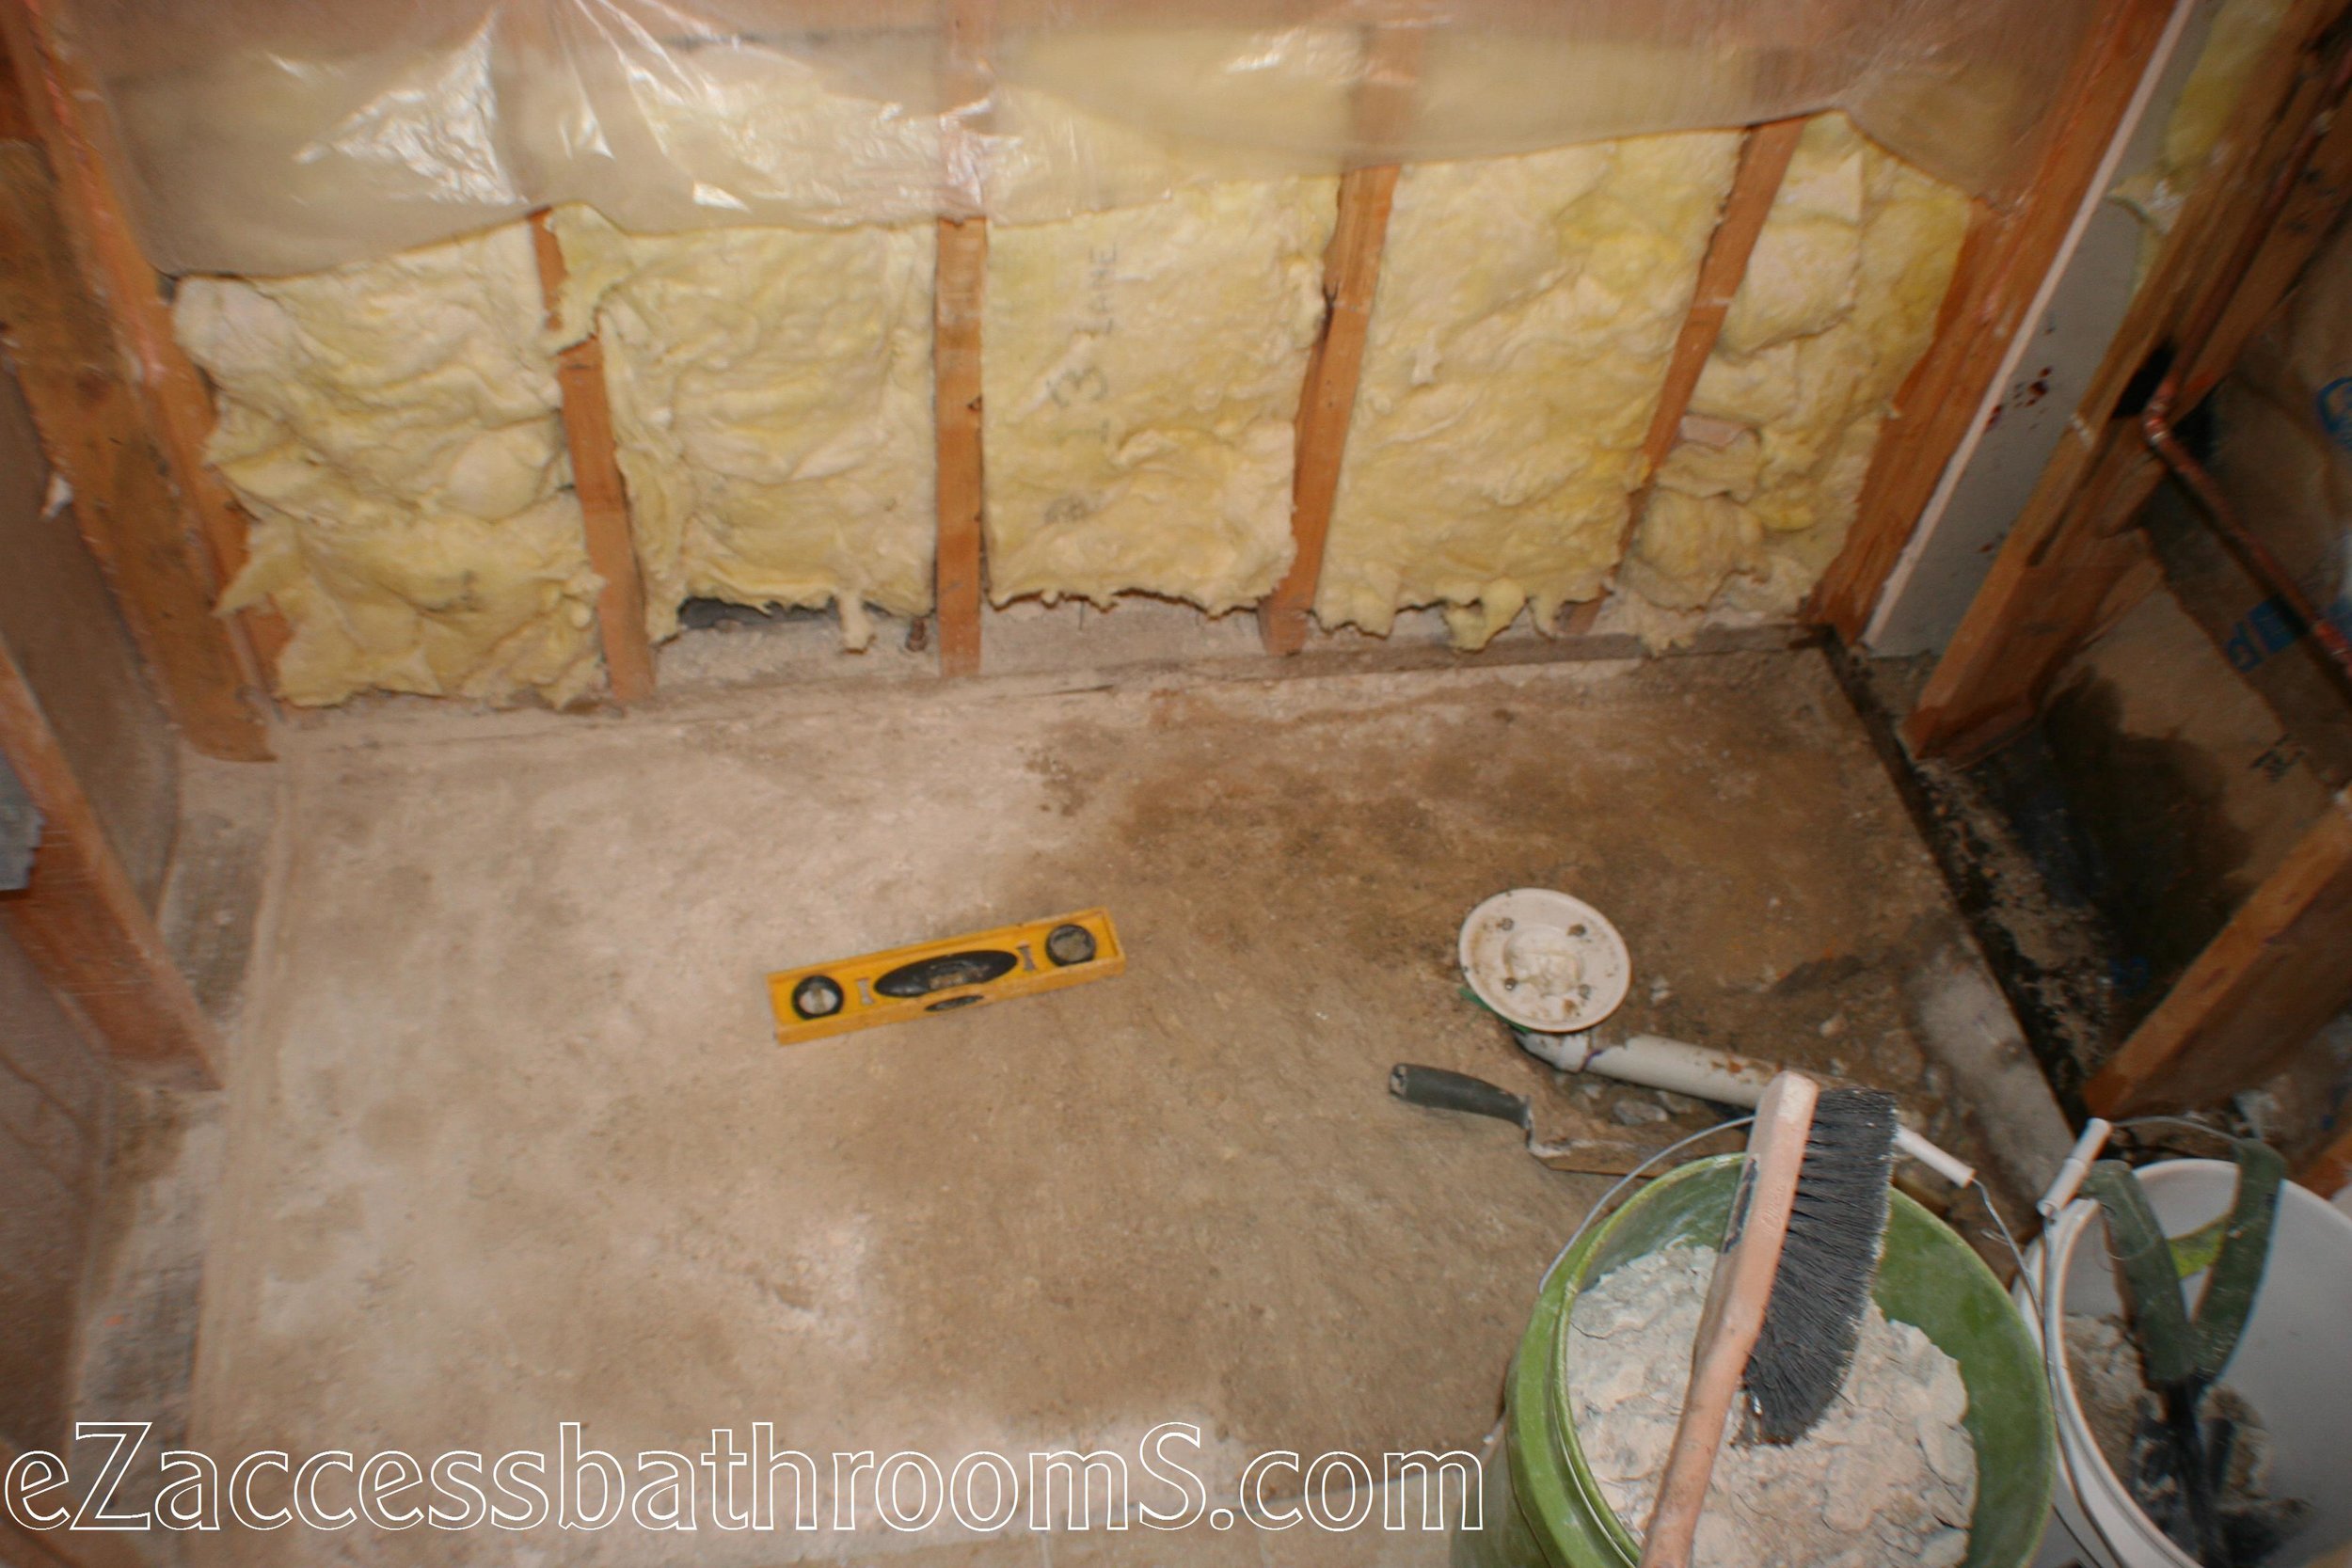
Once this was completed, we continued with the reconstruction.
Reconstruction phase was as follows:
Recess the foundation to facilitate the construction of the roll-in shower.
Access the foundation and modify drain system to install shower drain.
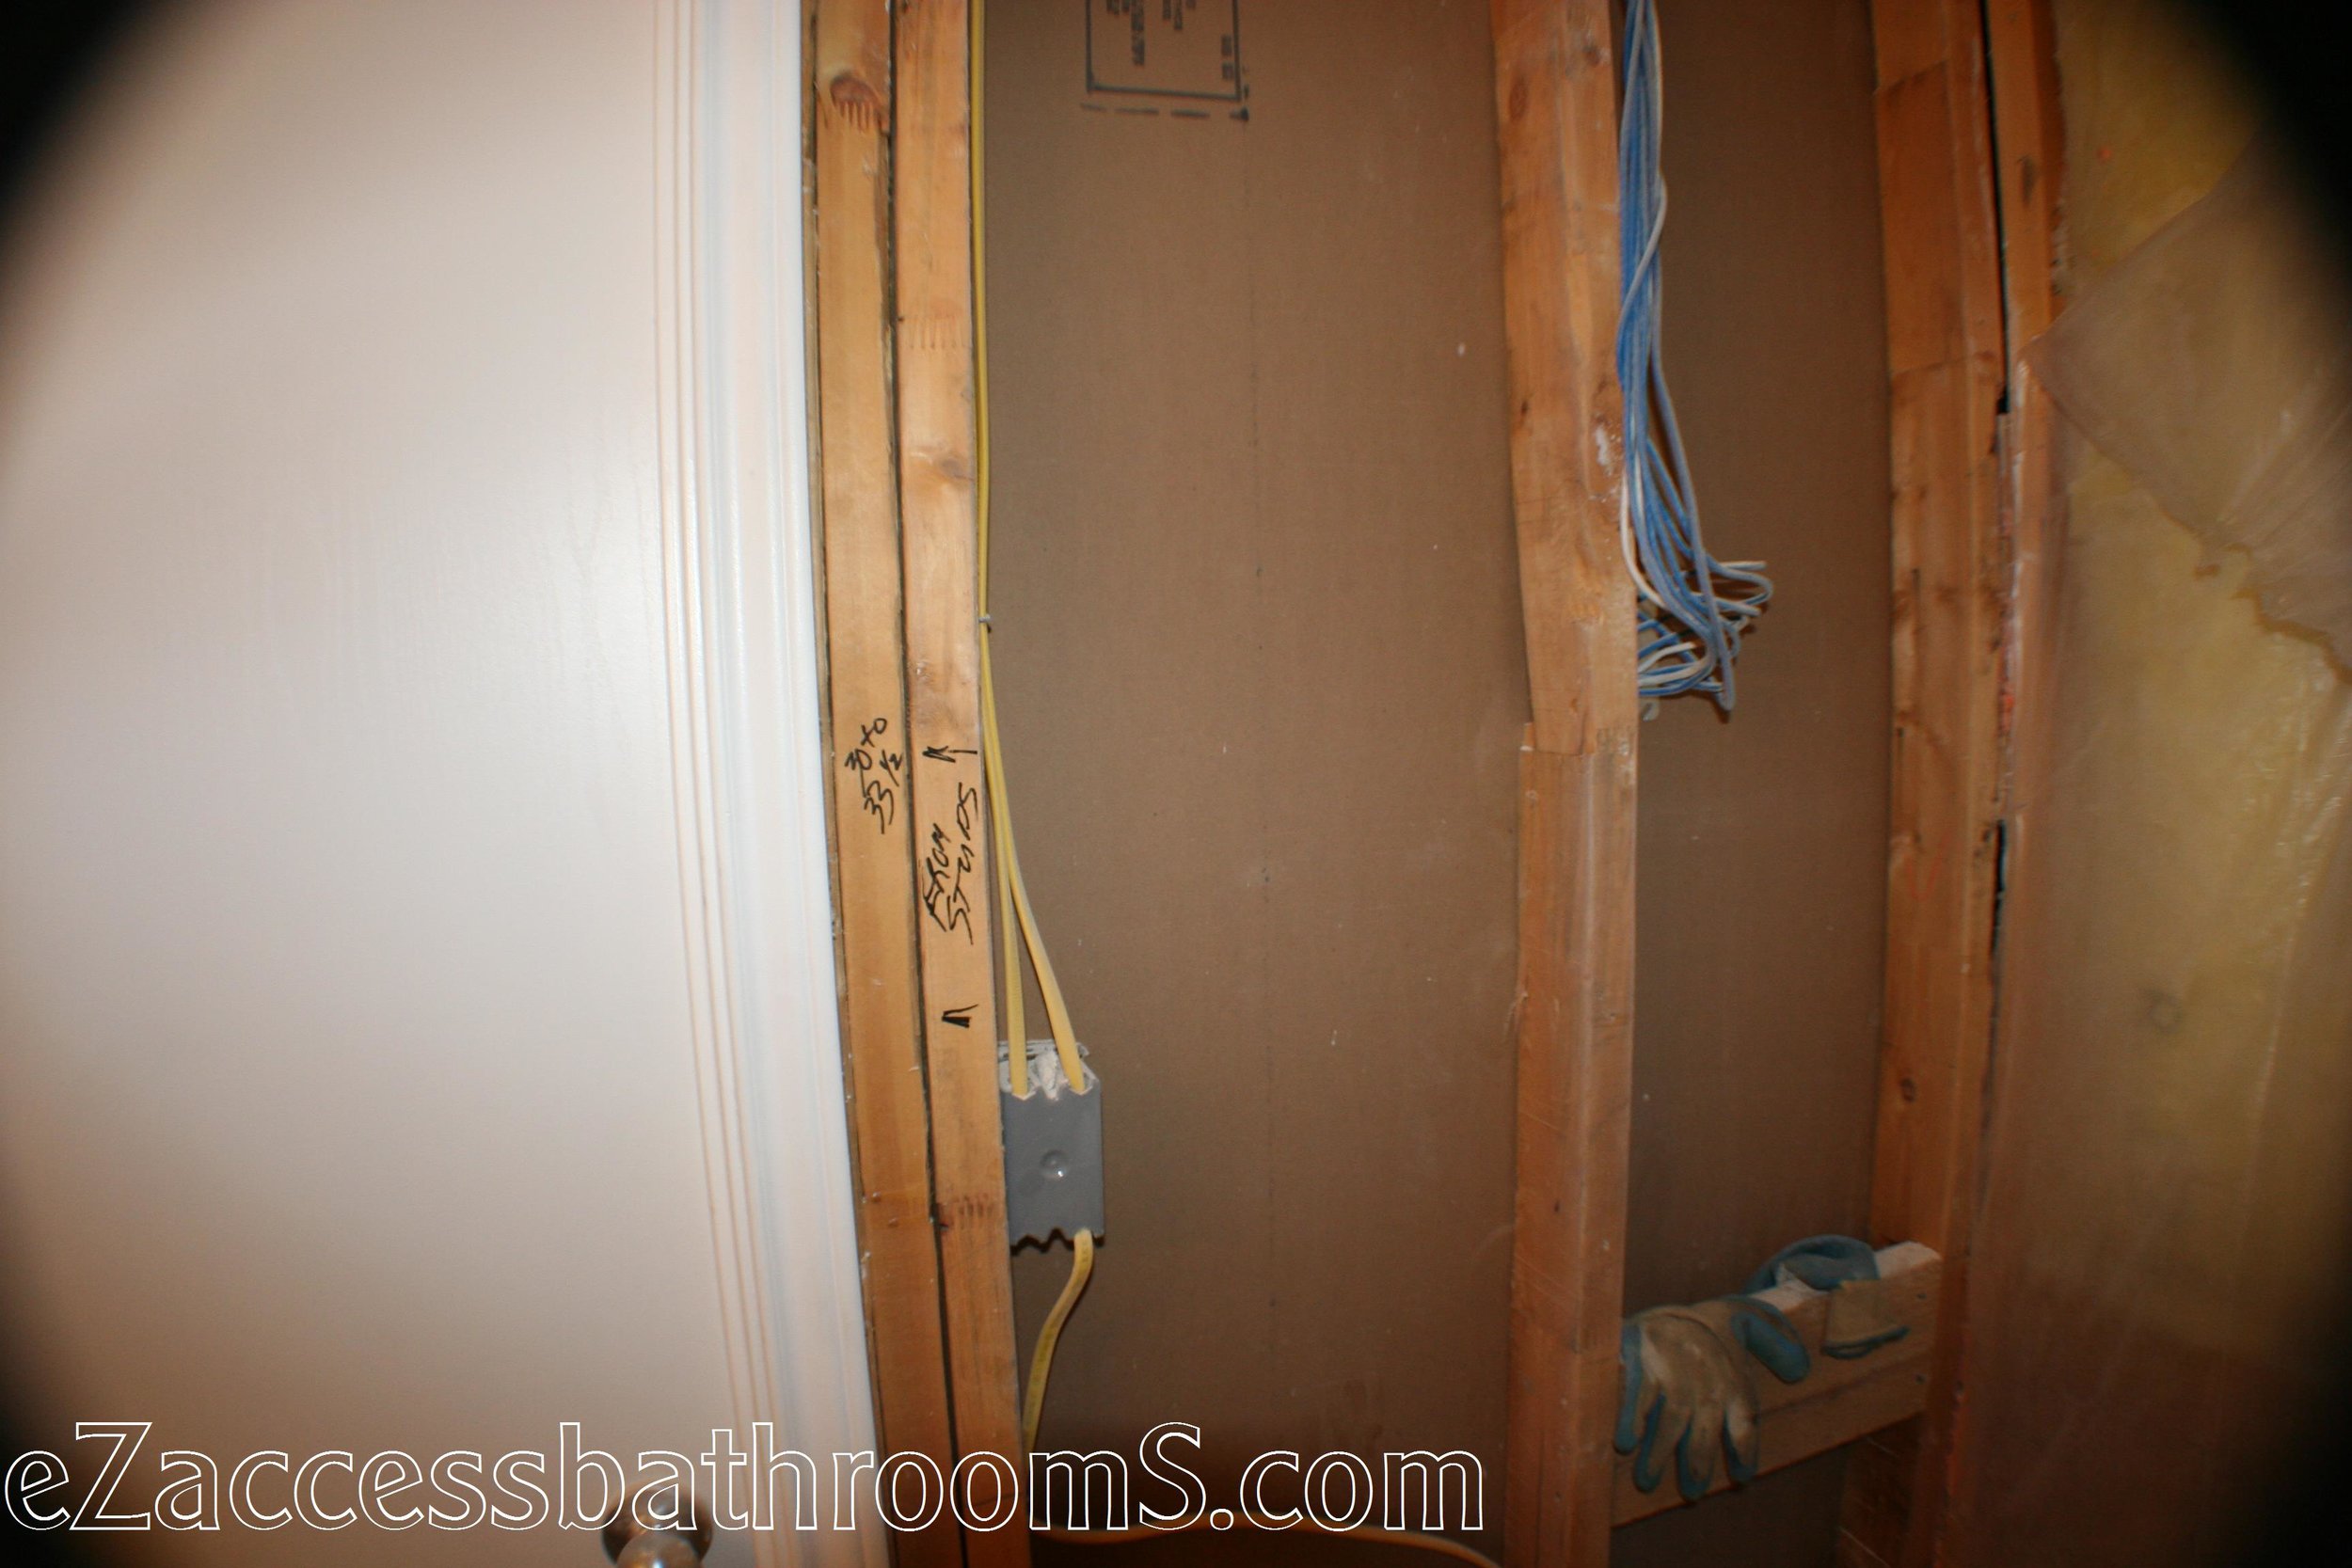
Frame in and reinforce shower stall walls.
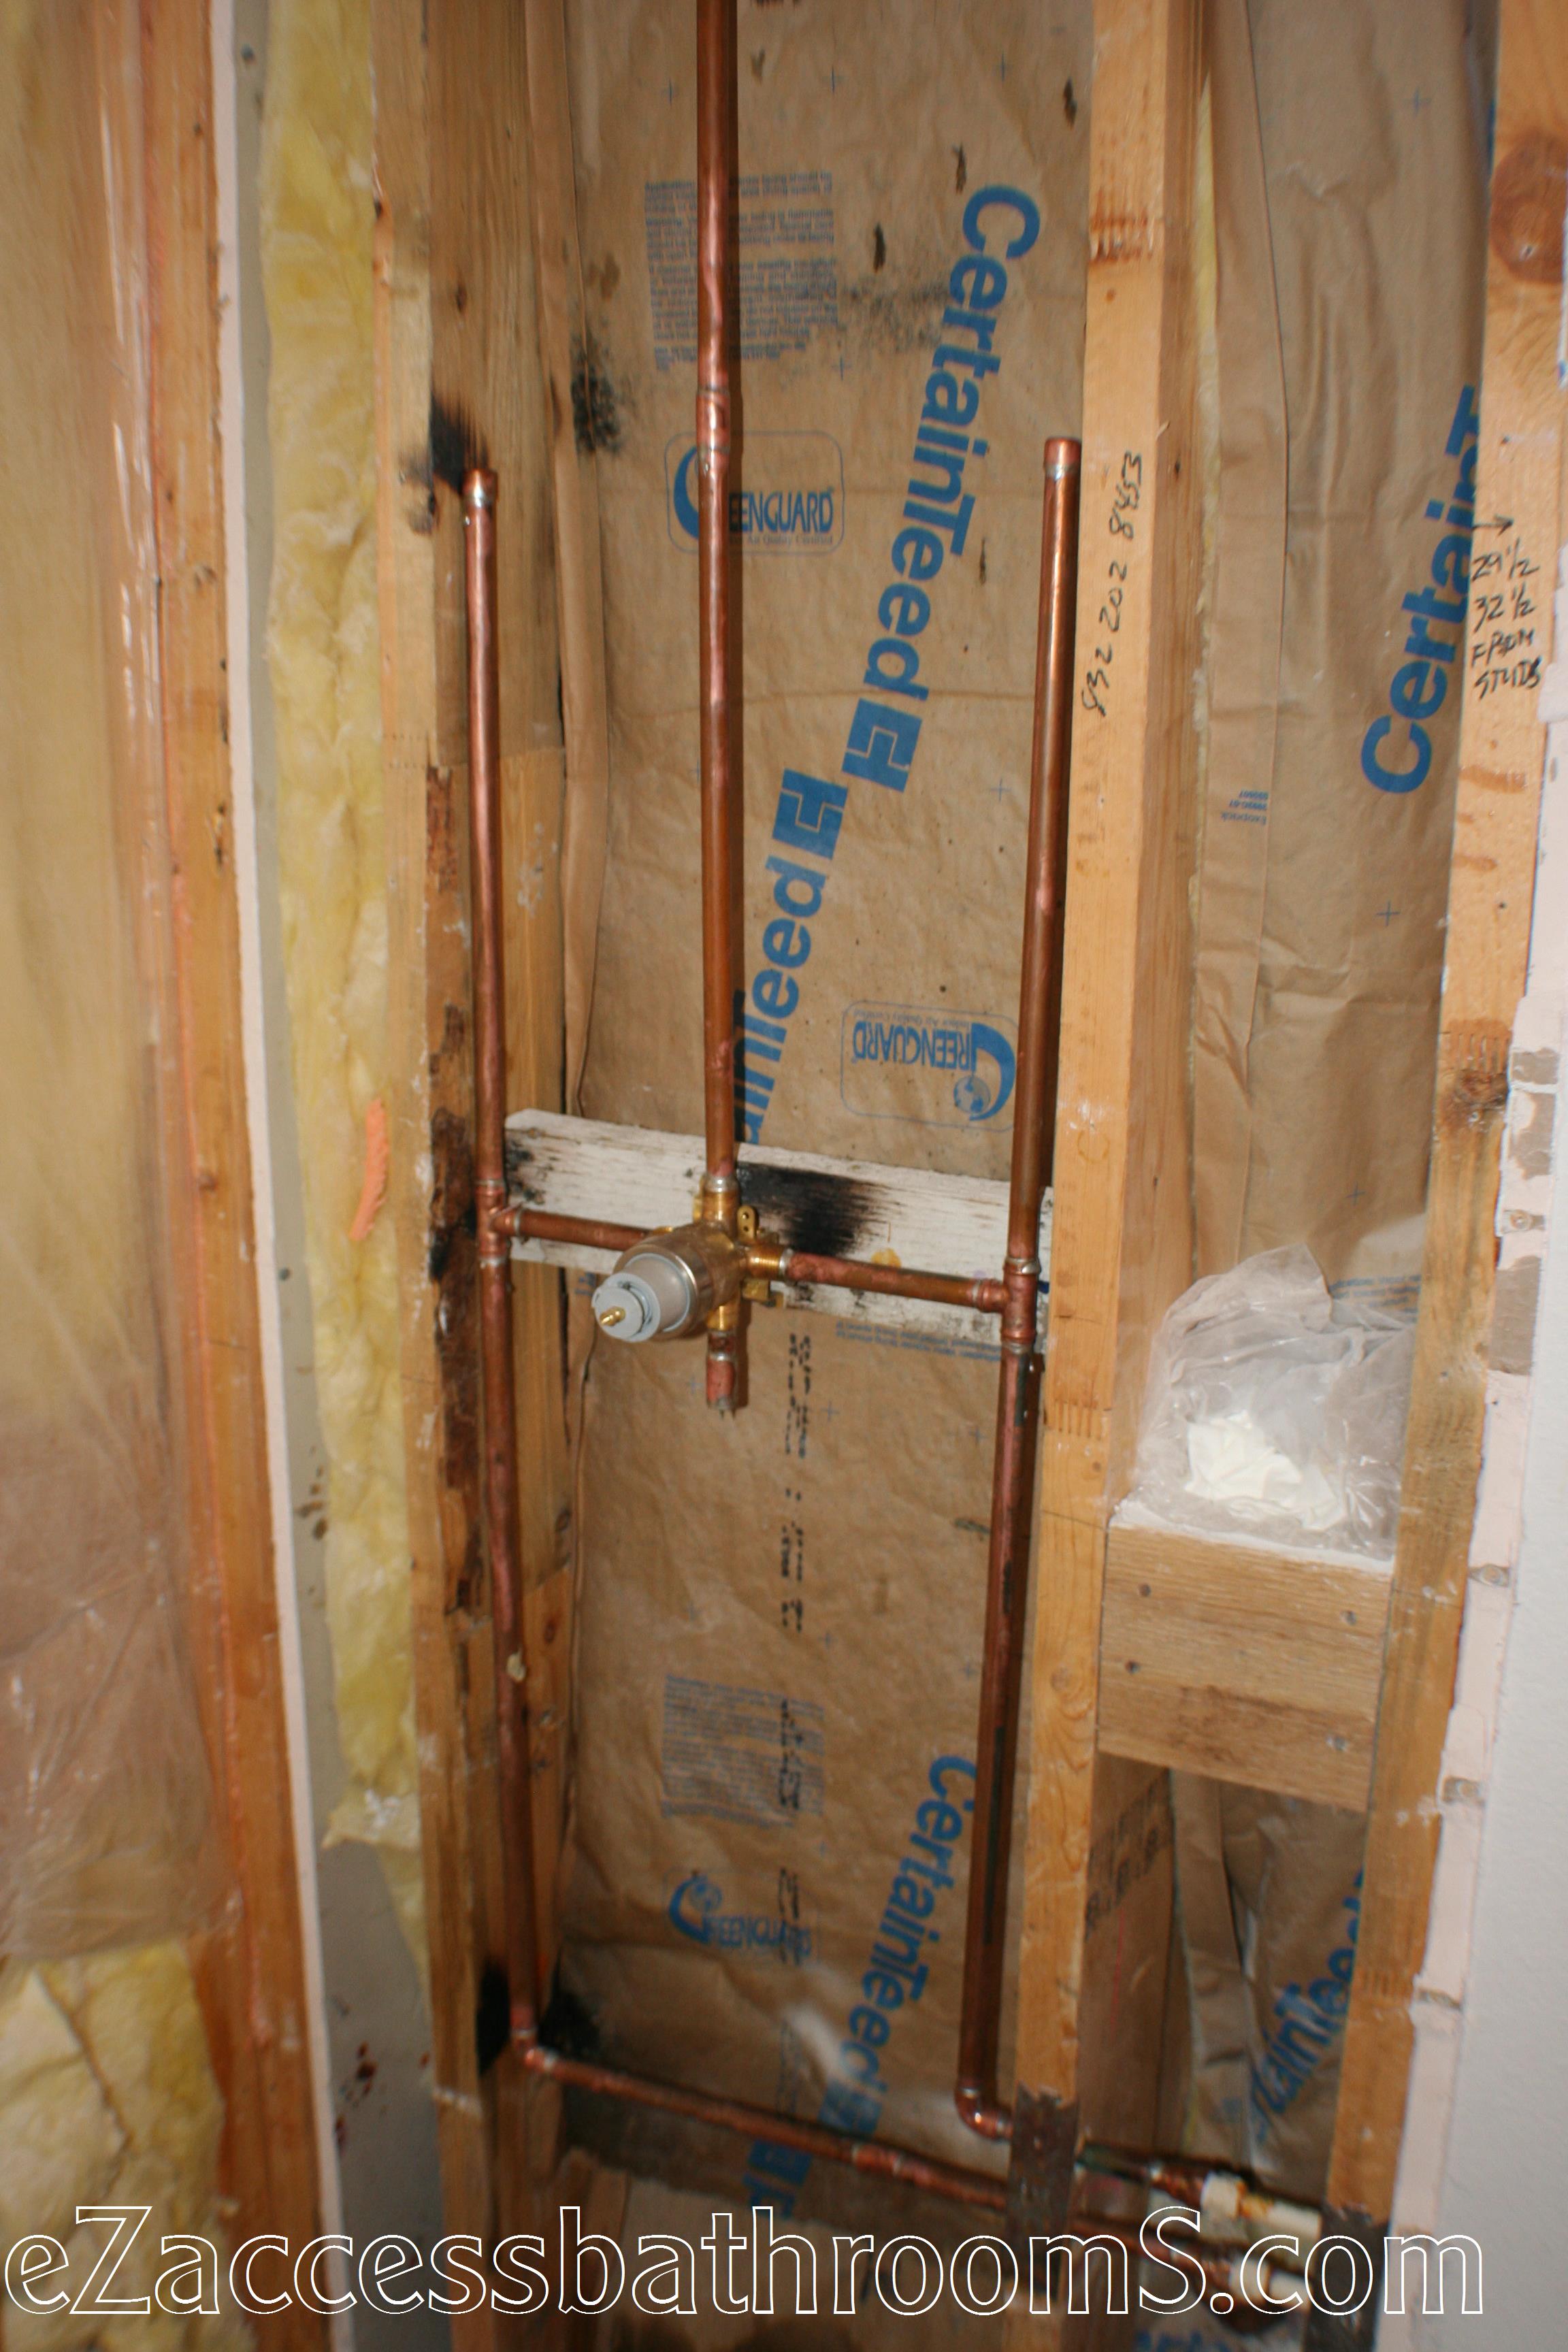
Install 2” x 12” reinforcements between studs to support grab bars later.
Make all modifications to the water supply lines needed.
Installation of the new shower faucet was raised to a more comfortable height.
Install backerboard and tape and float with thin-set mortar.
Installation of tile on all walls and shower floor.
Trim tile color is white 2” x 6” surface caps.
Install 2” x 2” anti-slip ceramic tile on shower floor.
Grout out all tile work in white.
Installation of the faucet trim and fixed showerhead.
Install a towel bar and soap dish.
Installation of a hand-held shower head.
Installation of a 36" stainless steel grab bar.